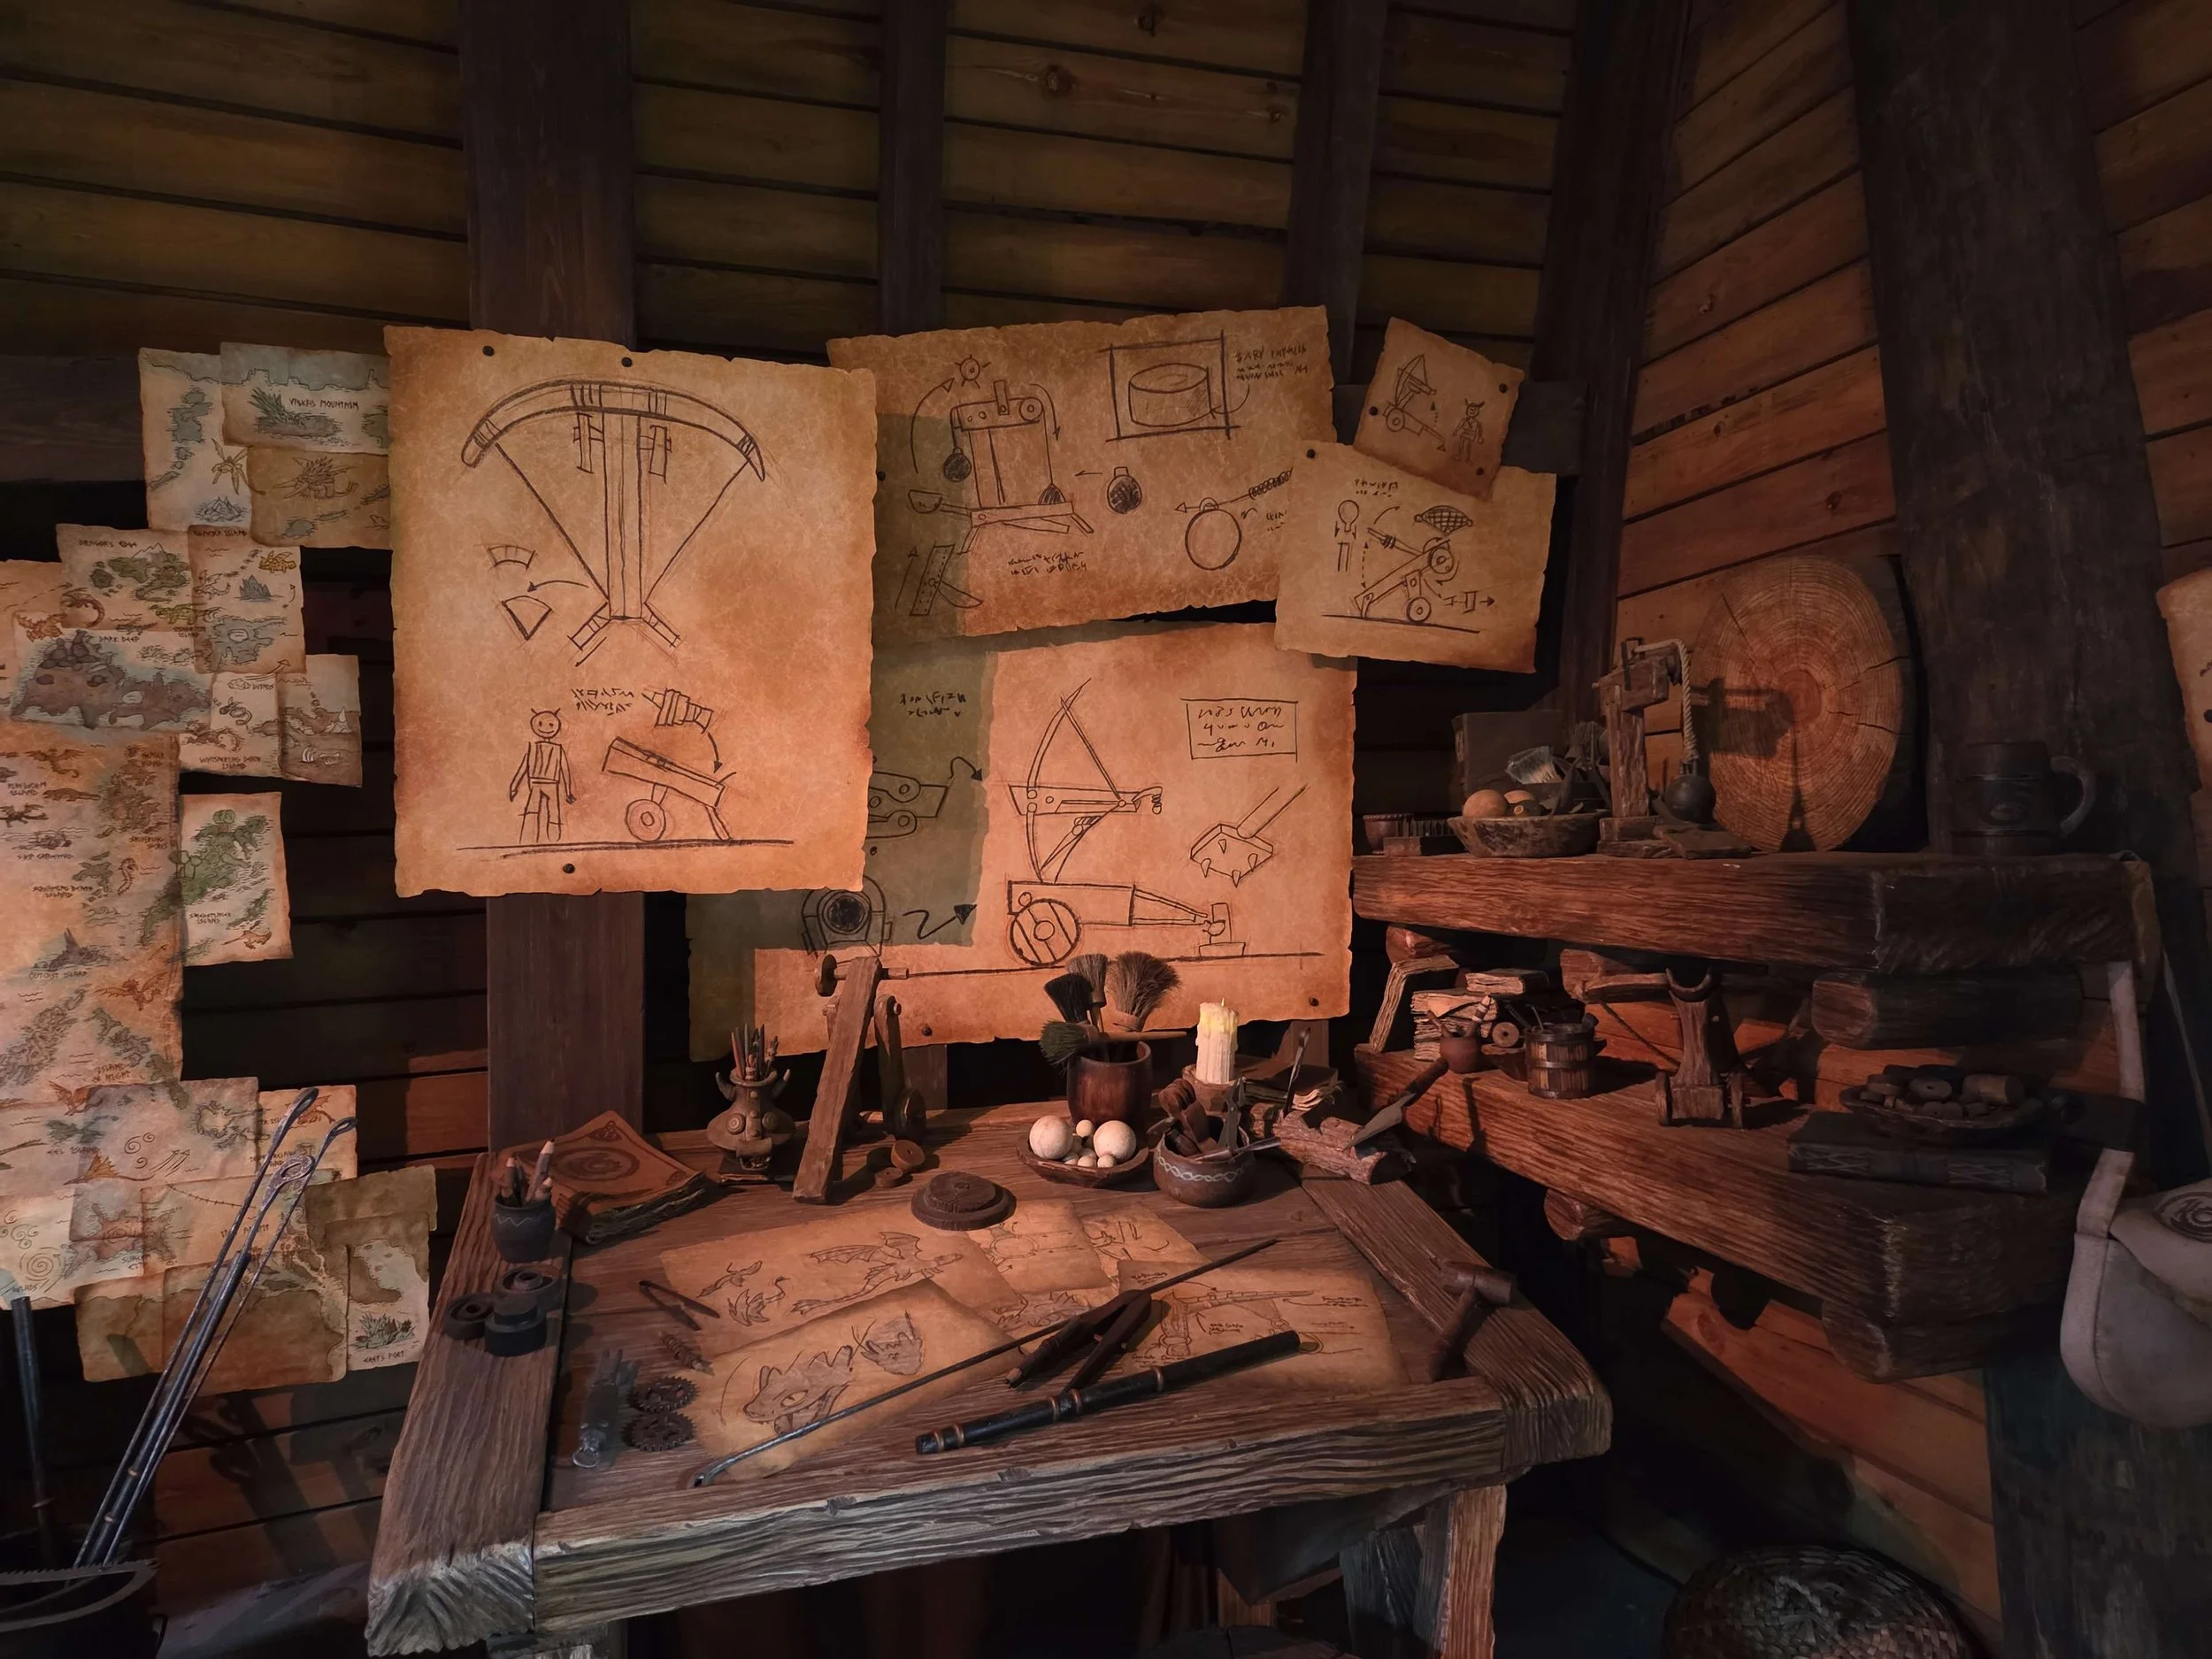
How To Train Your Dragon - Berk's Satchel
Disclaimer: I am in no way a professional pattern maker/bag designer/pro seamstress. I do this for fun because I was bored one weekend
Made a Berk Satchel from Race to the Edge / Riders and Defenders of Berk (one of my comfort animated shows) cause
1. I really wanted this since I was a kid, but it was never sold
2. sheer will of wanting a HTTYD themed bag from the series
3. delusion
so I did lol
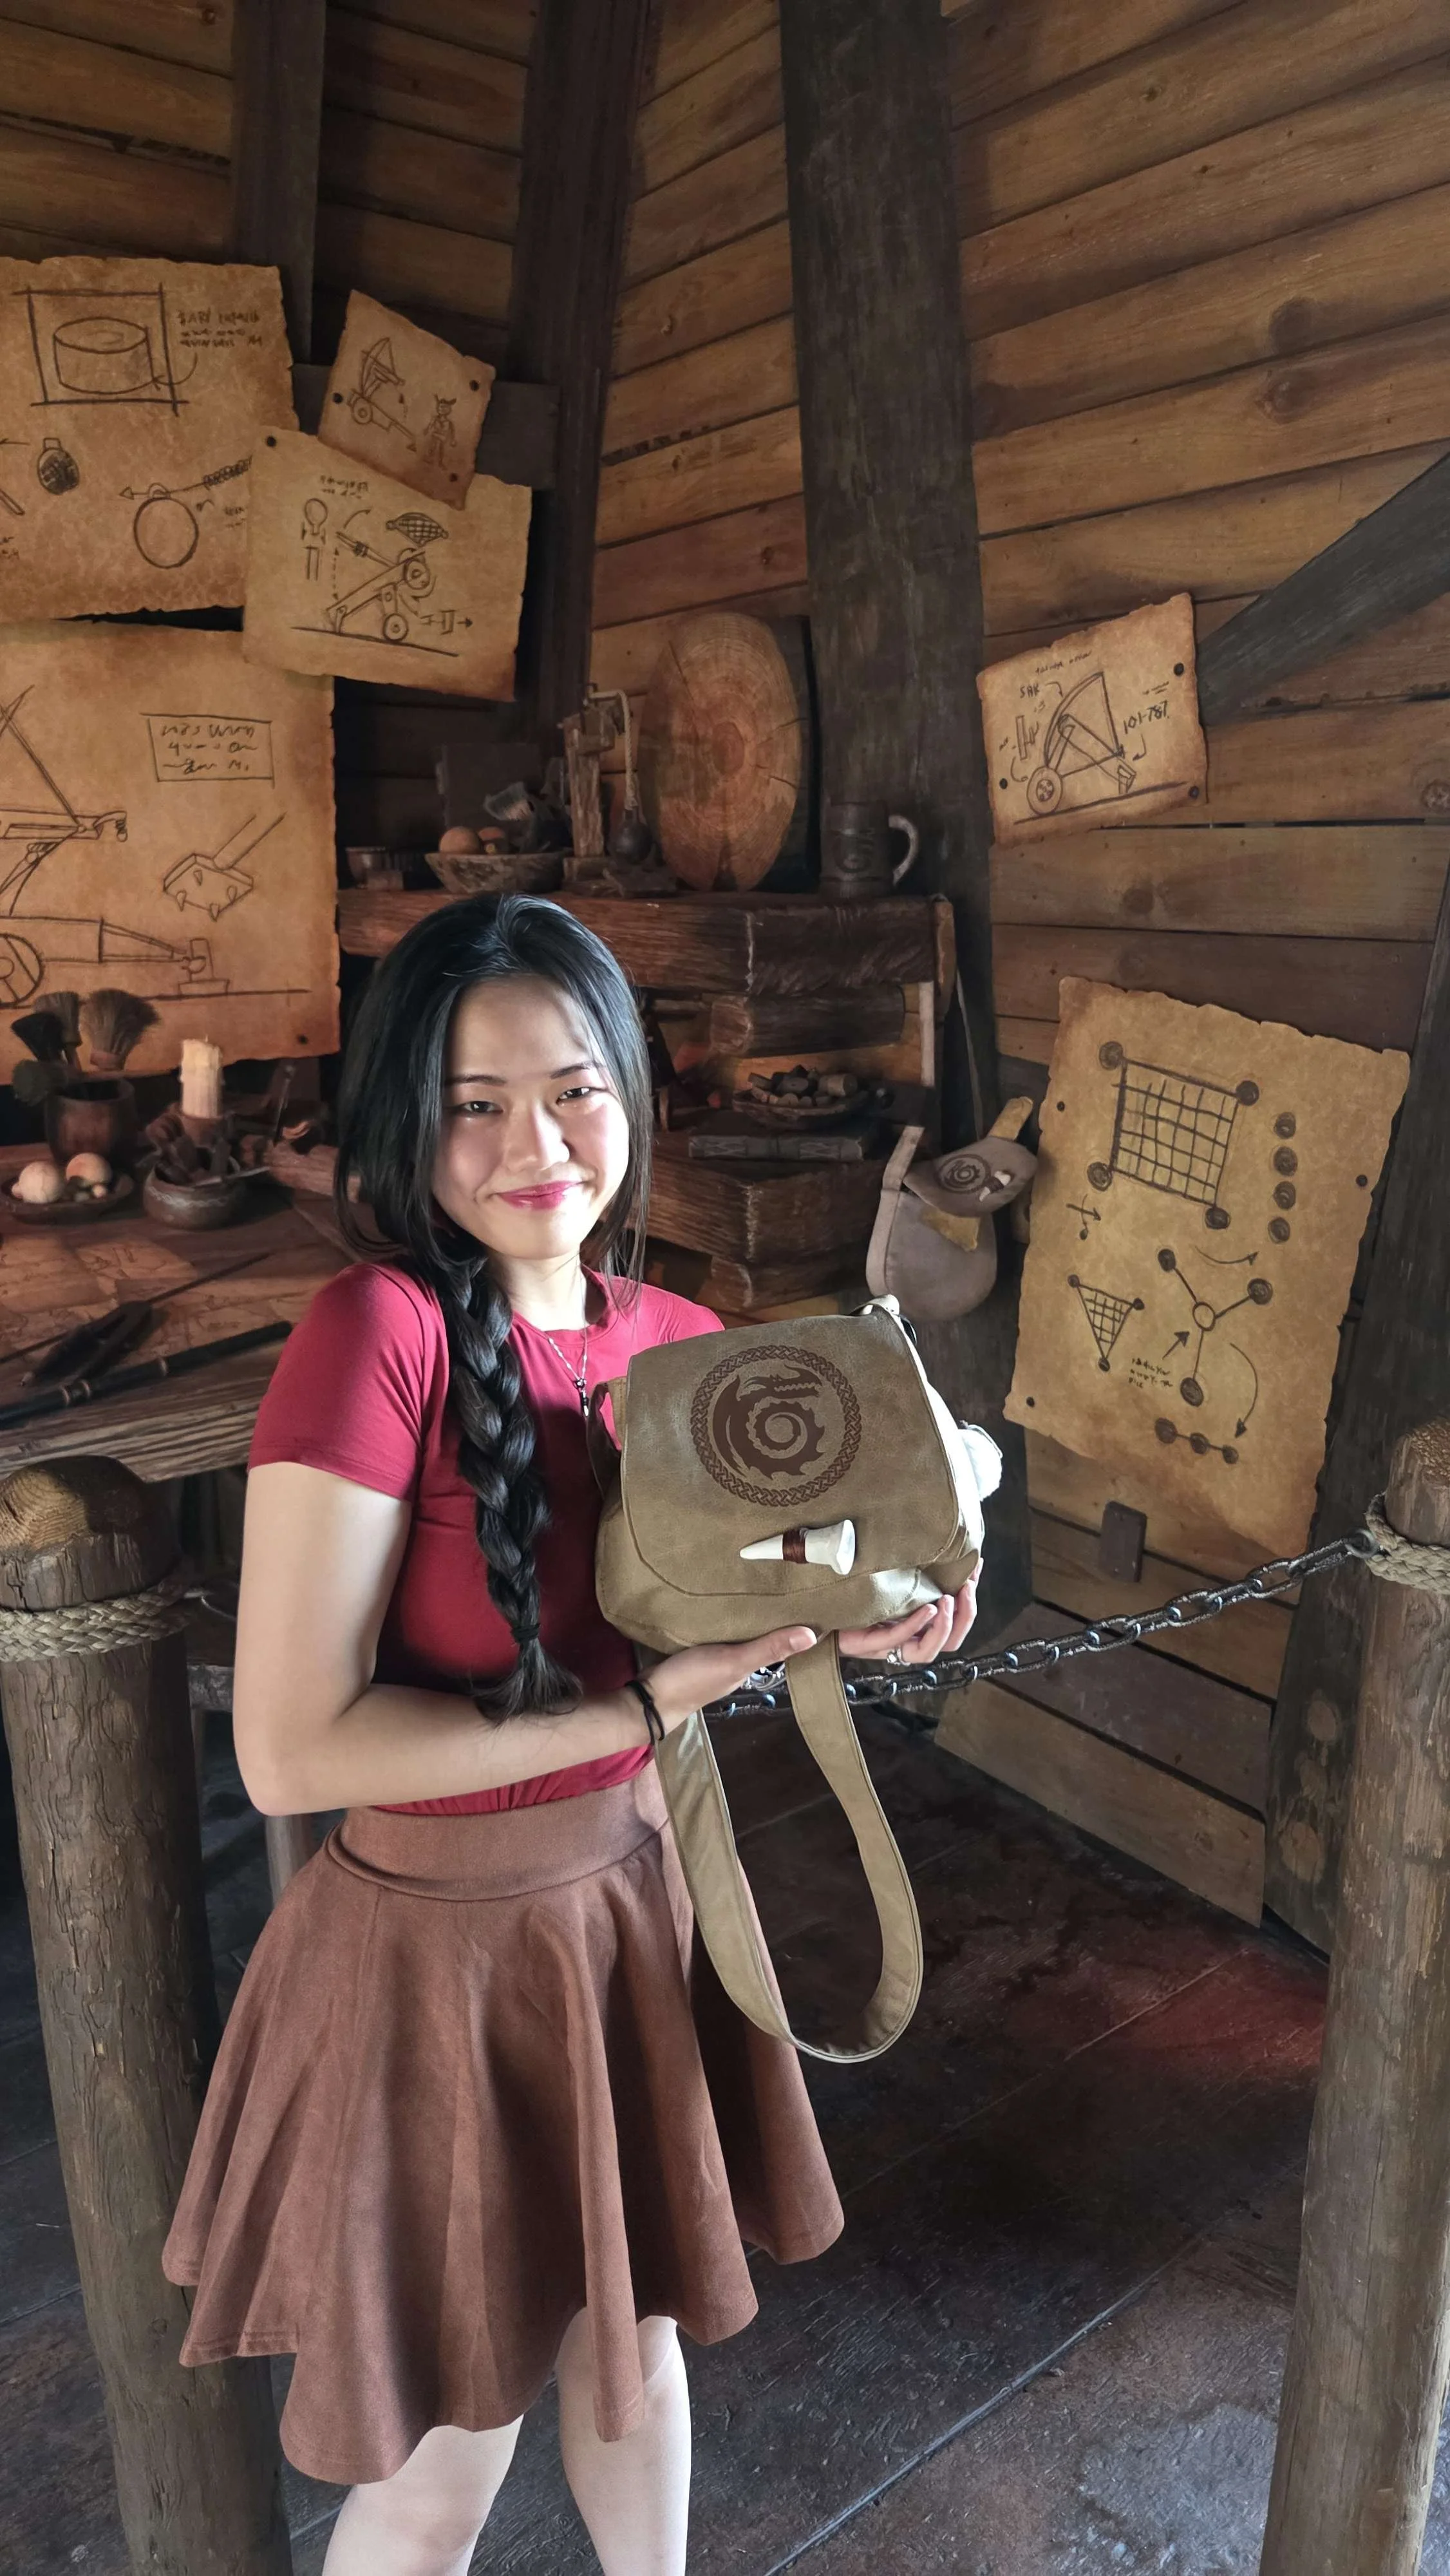
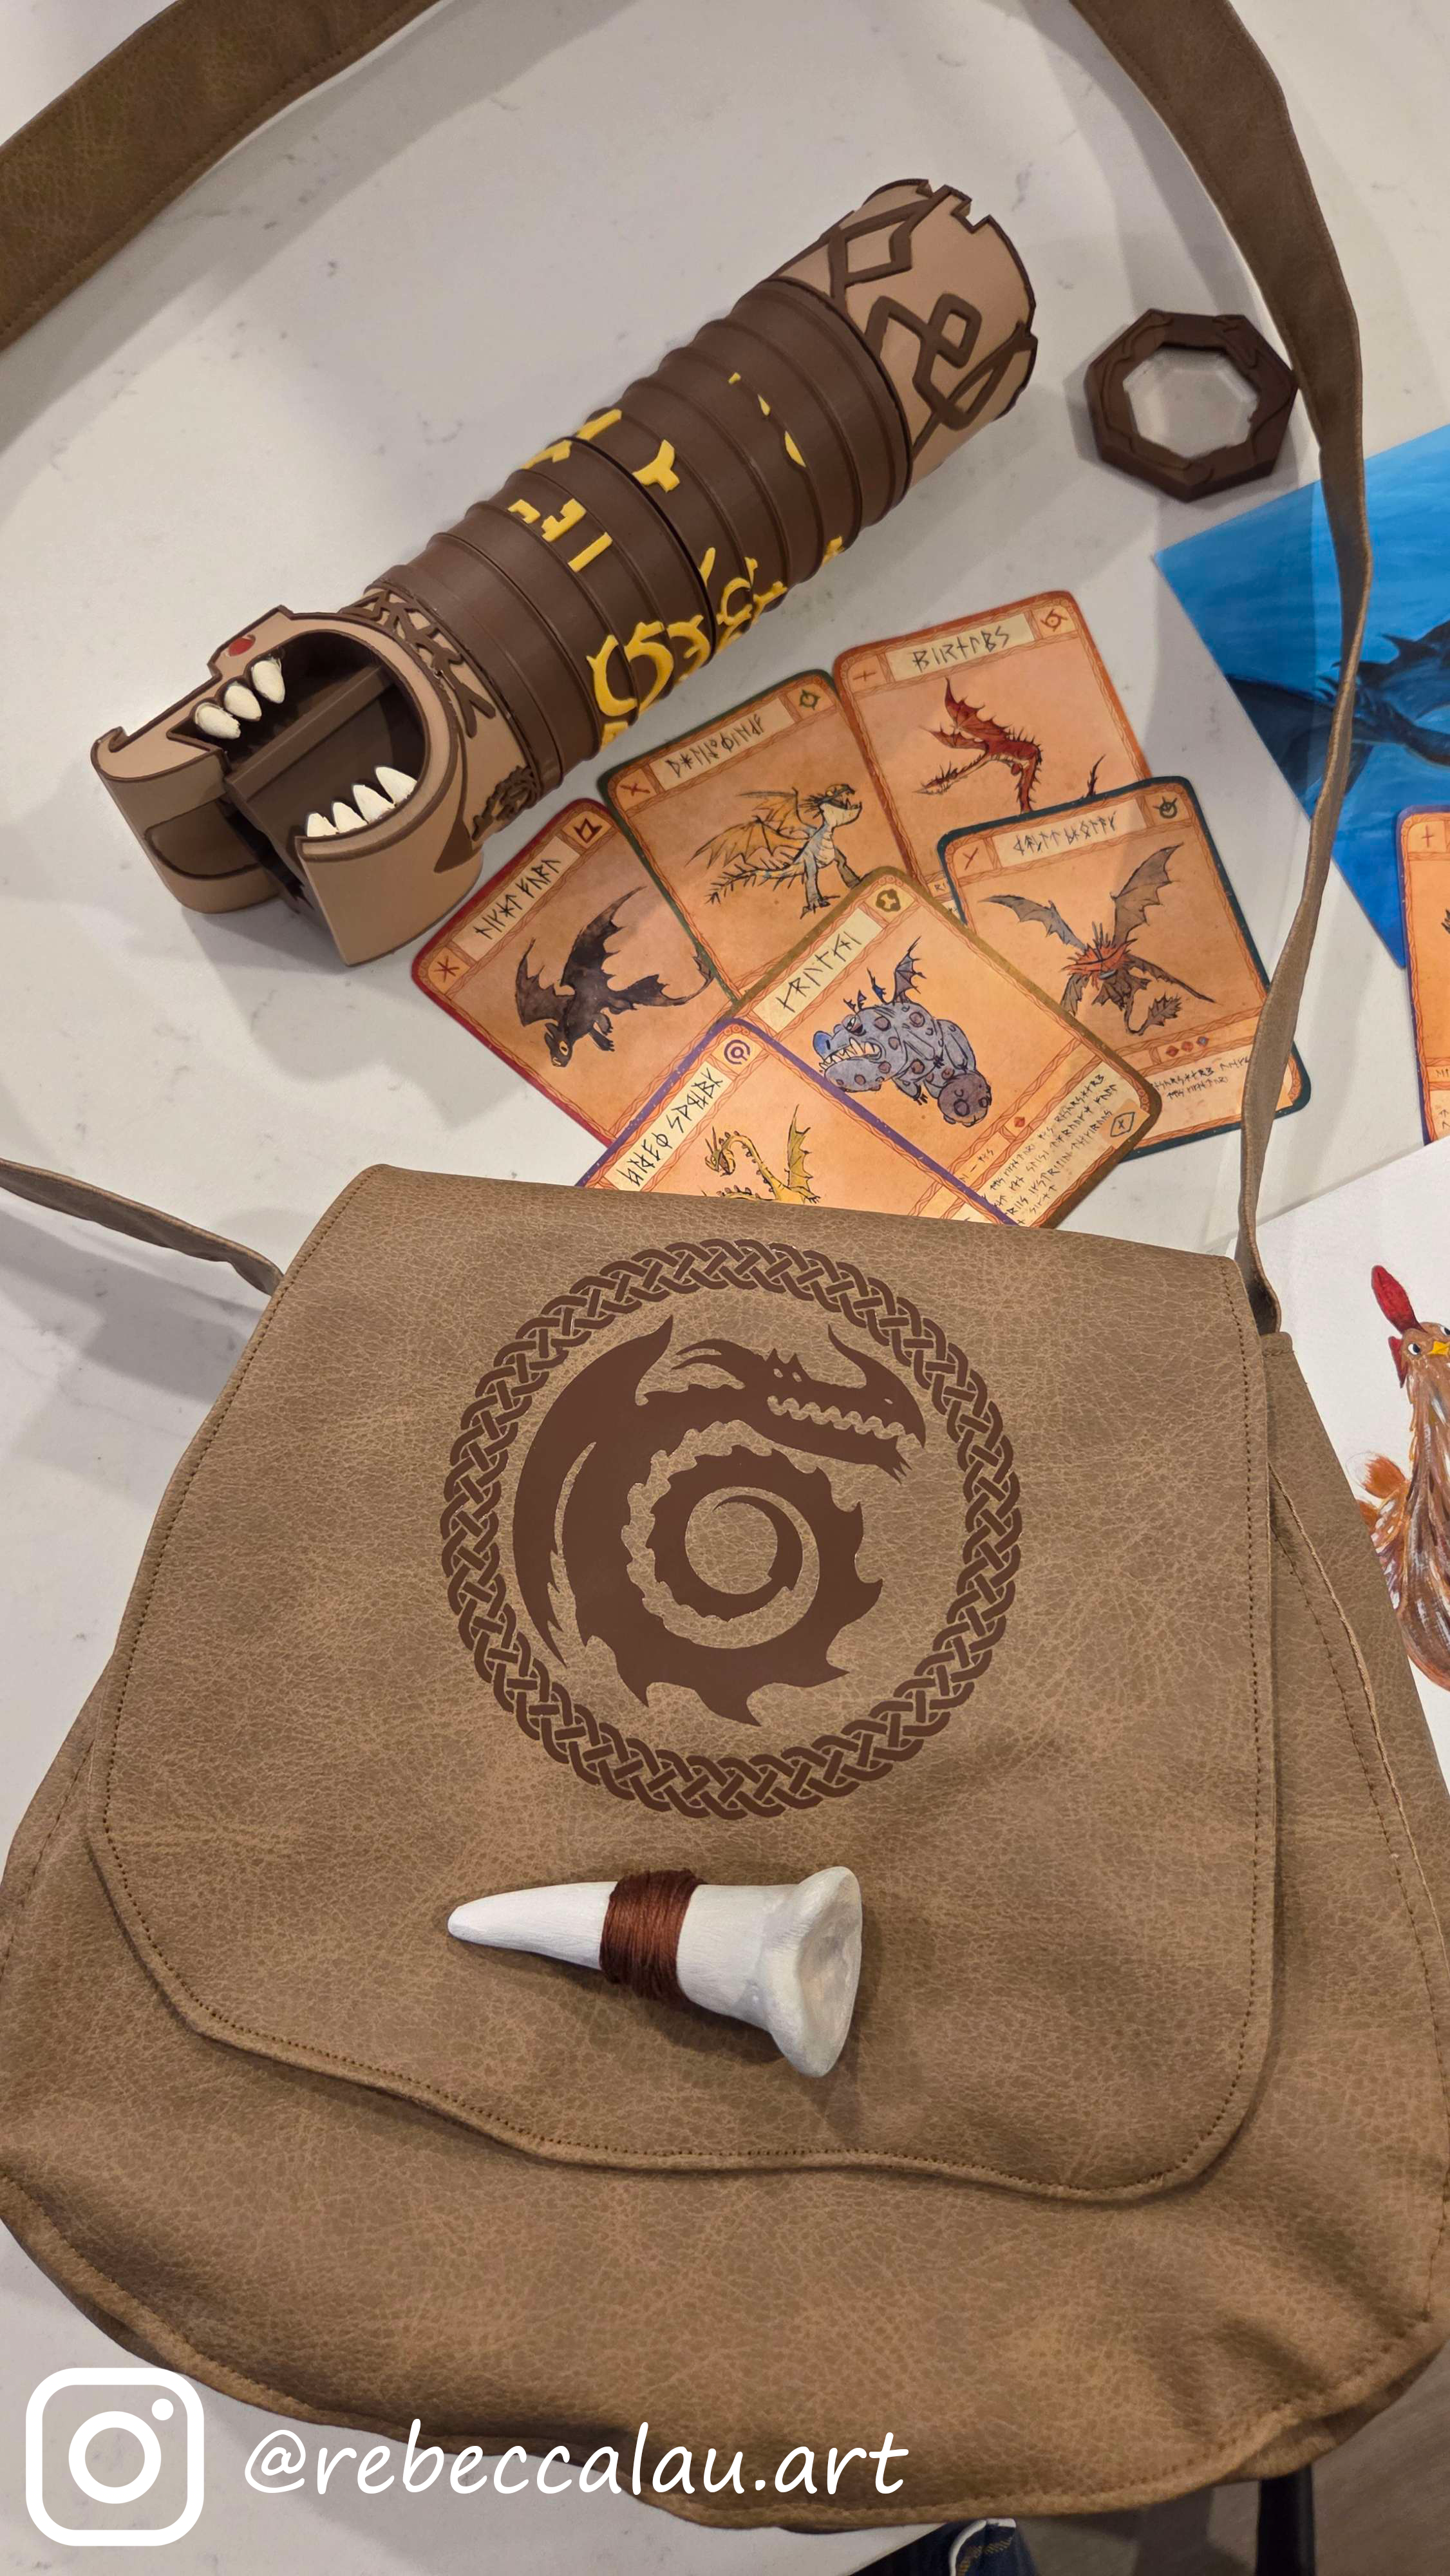
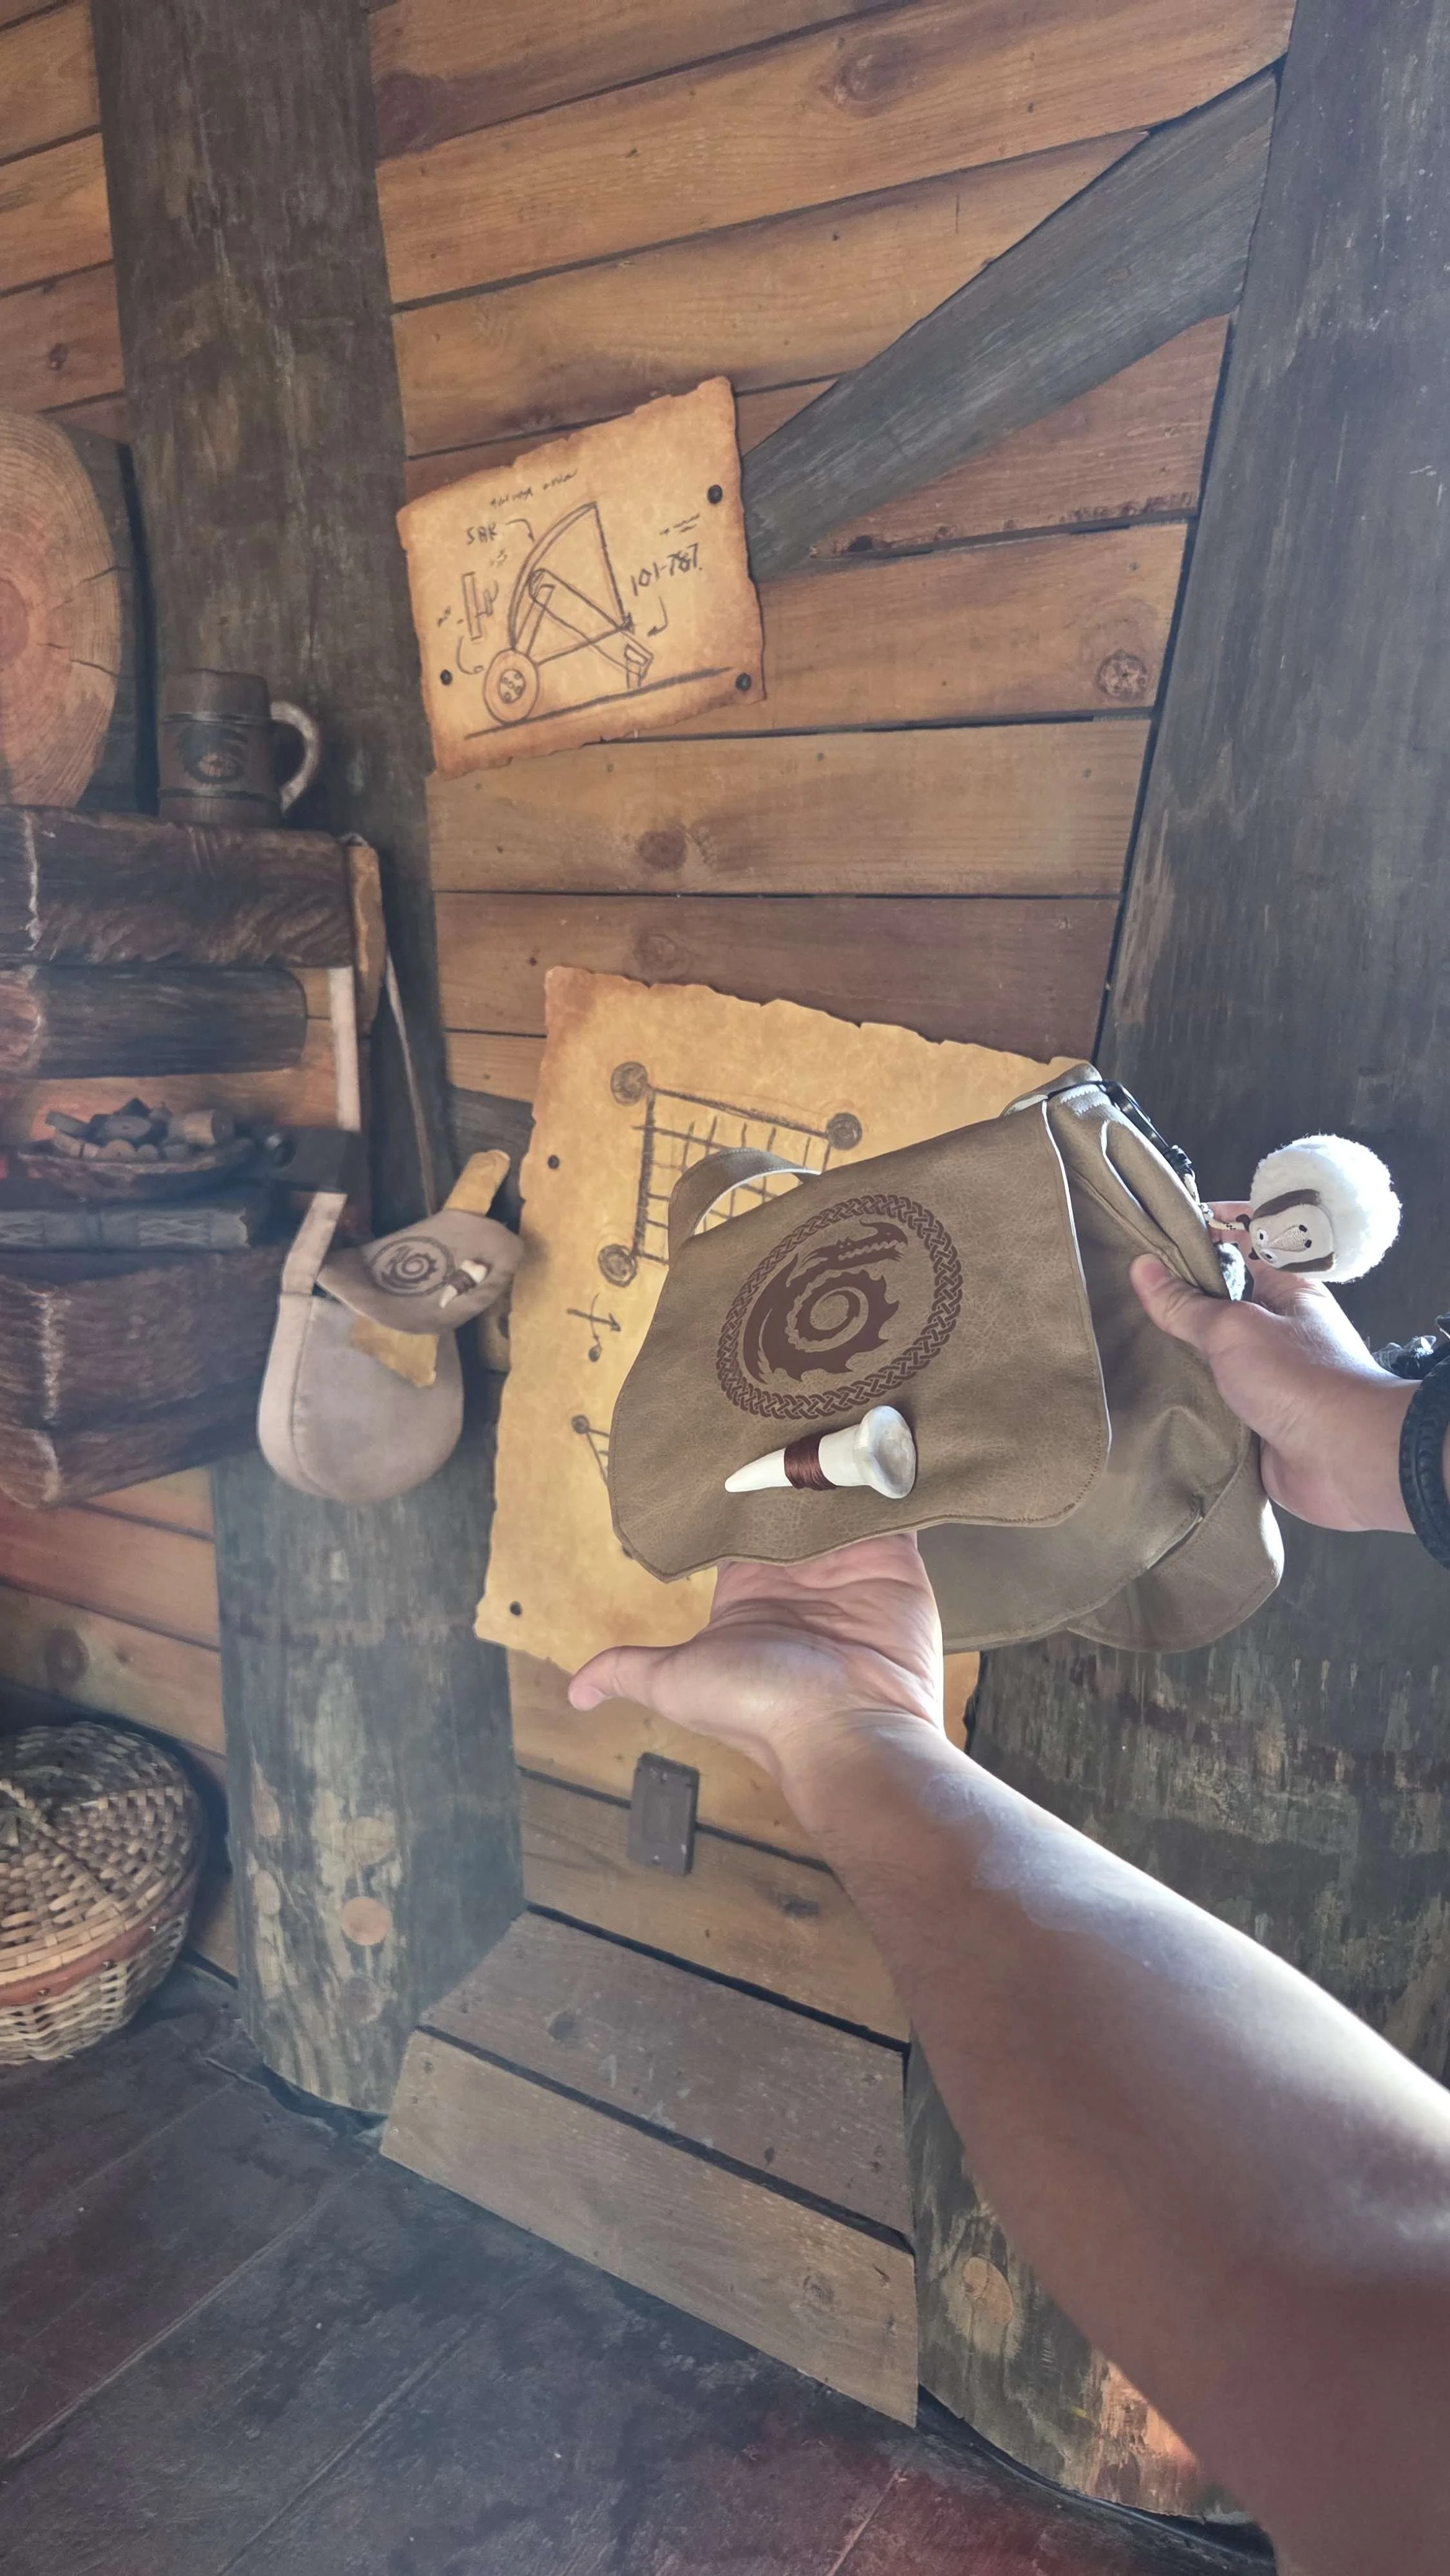

I made the template by rewatching scenes that has the satchel closely and made my template on Procreate.
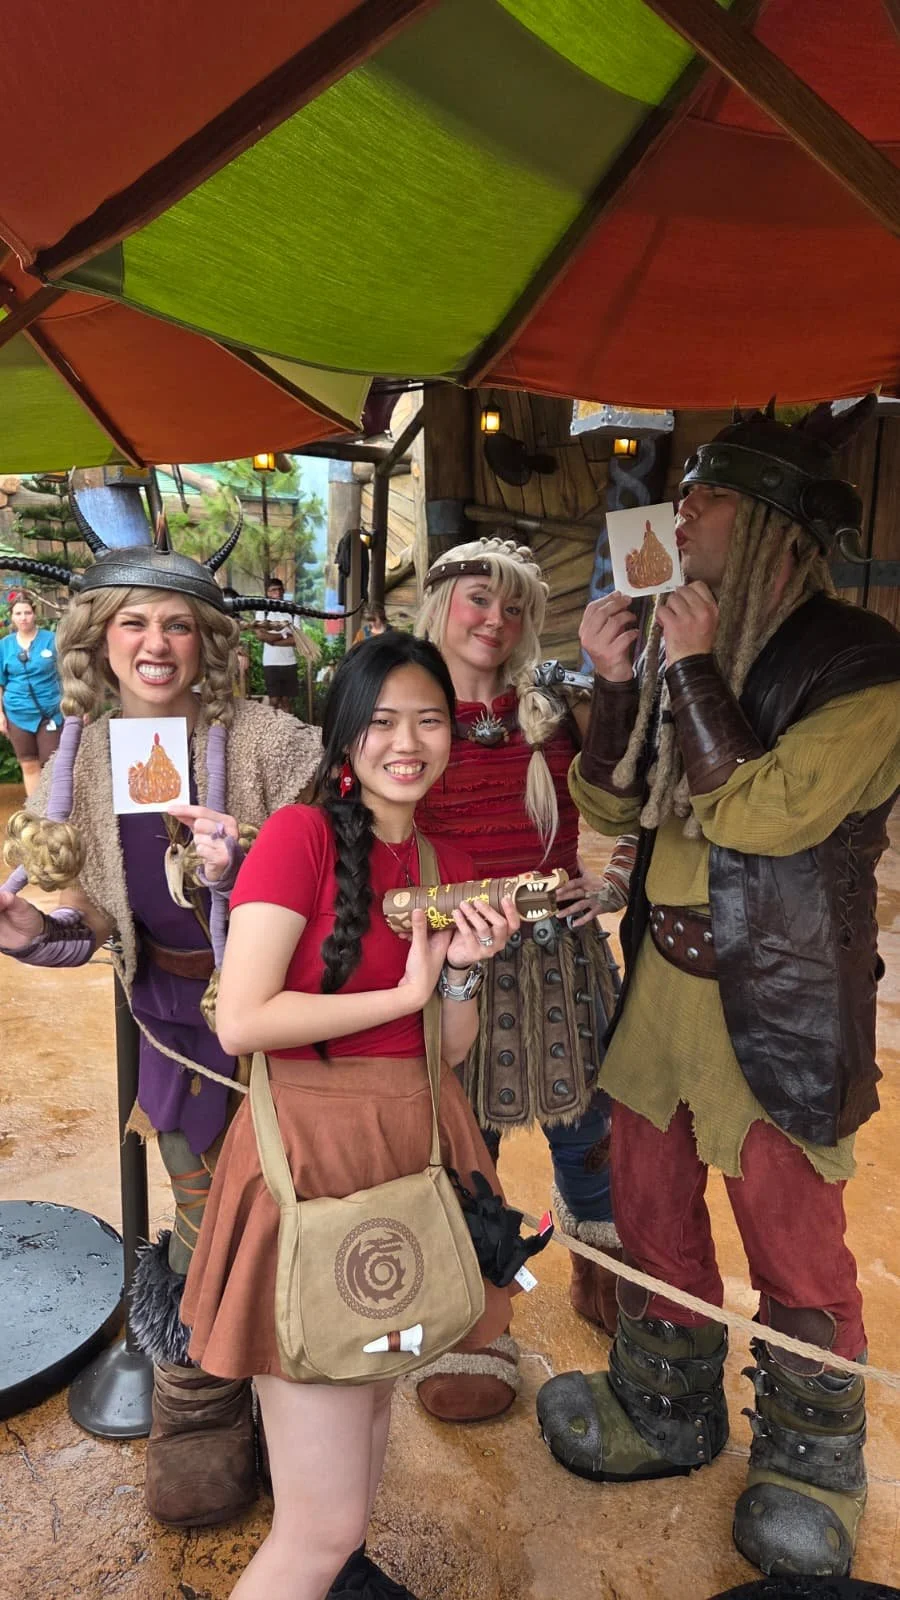
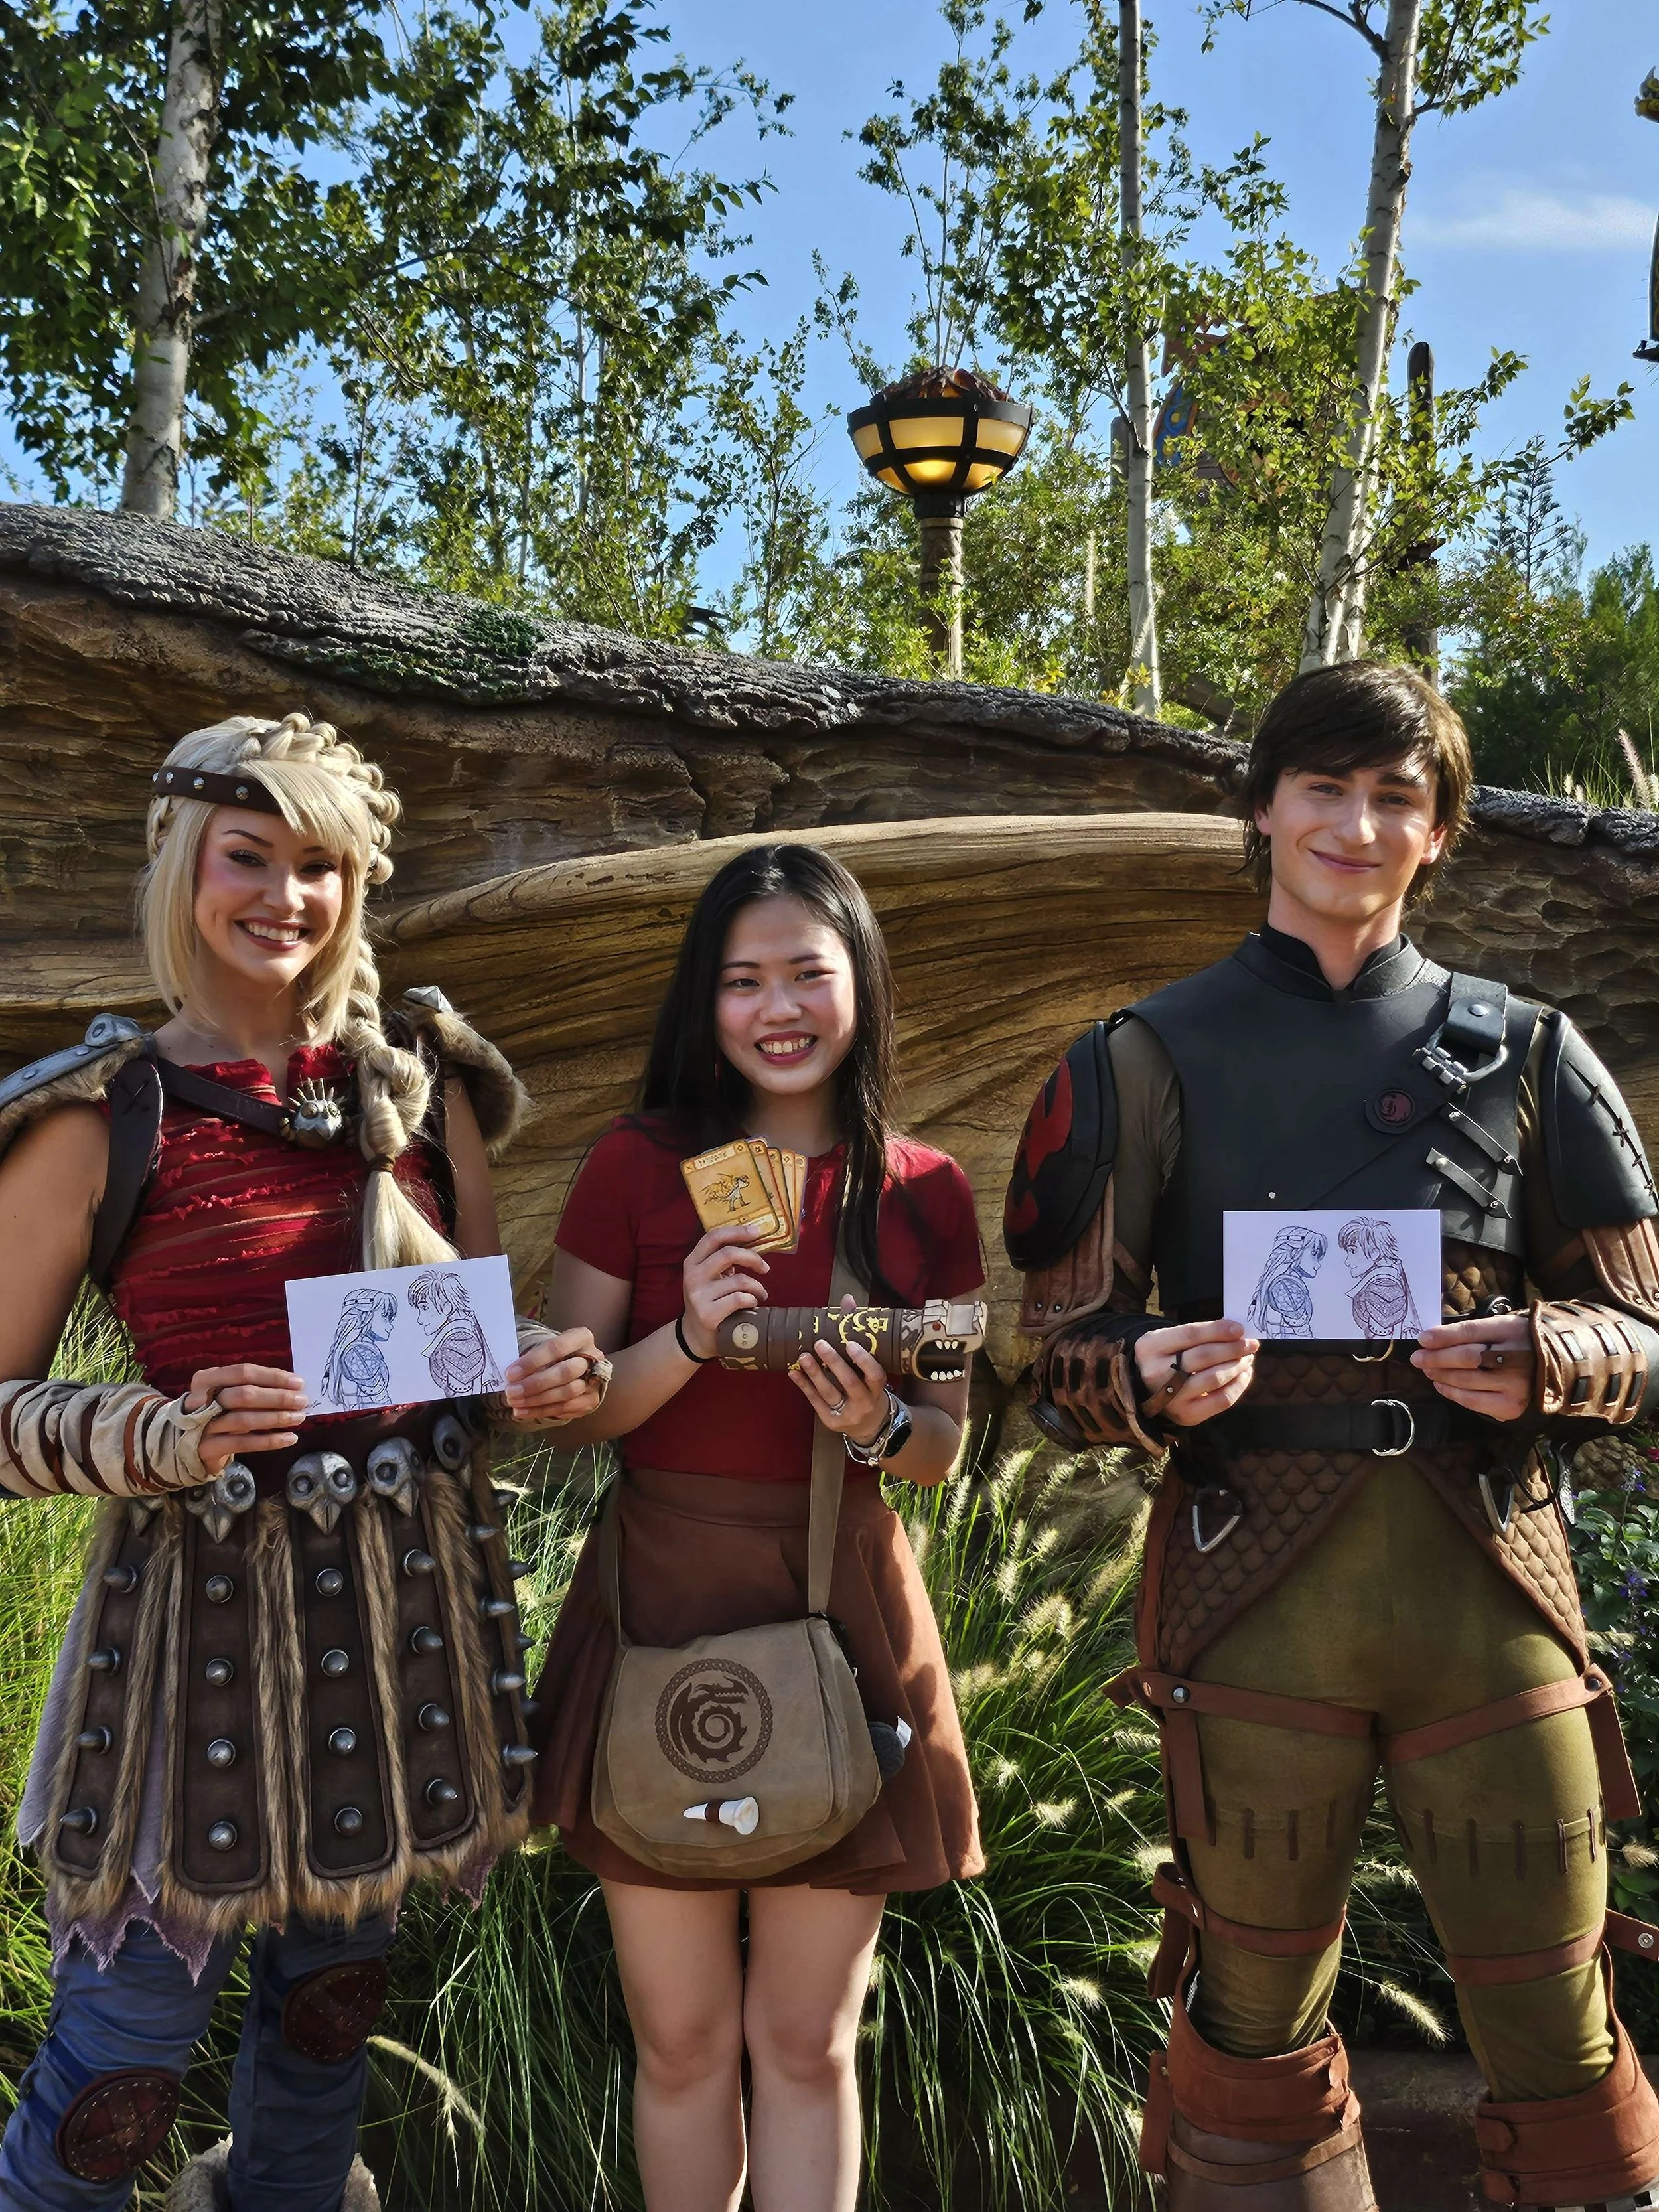
I know the tooth is meant to clasp the bag together, since the animation does not show the bag clasping together and the bag in the parks also does not show it, so I decided to just make the tooth not a clasp.
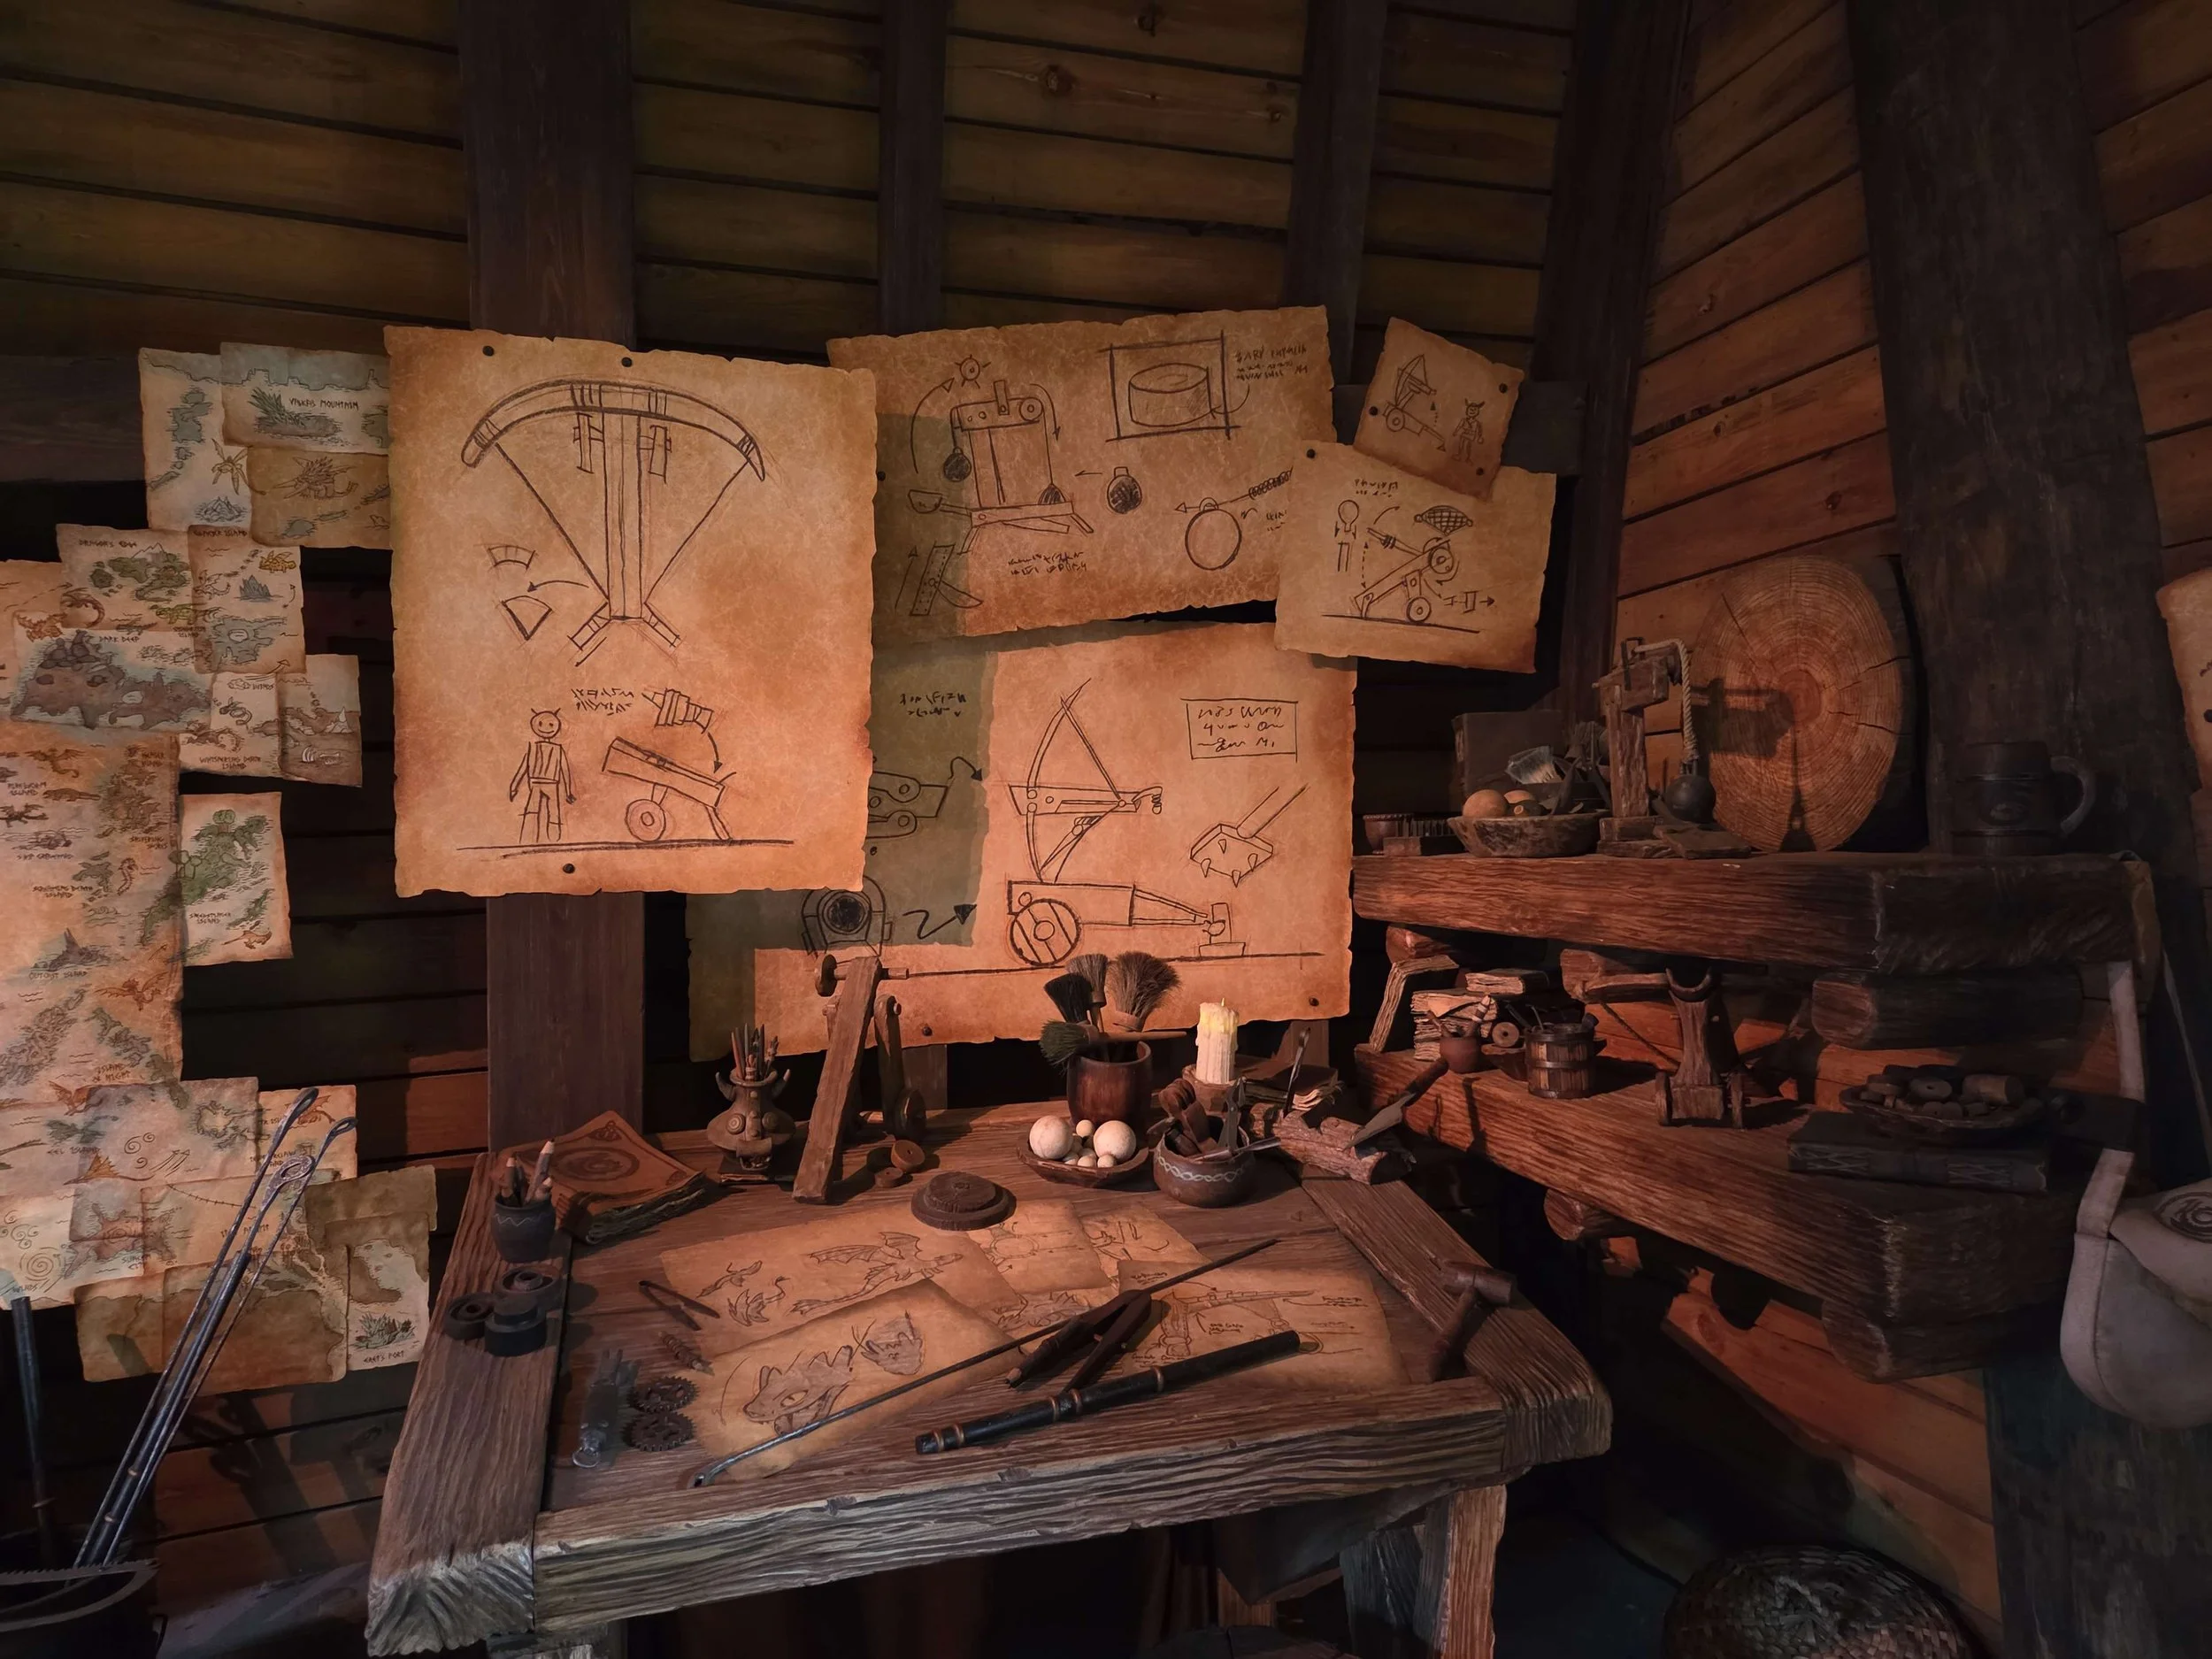
Prep + Materials
I made a proxy paper version of the bag just to test and see if my vision was what I liked - thankfully it was on the first try.
Went to Michaels, bought the remaining roll of pleather, a light brown cloth, threads, and went home. Started praying to all sewing machine gods to help me wrangle pleather + cotton on my sewing machine.
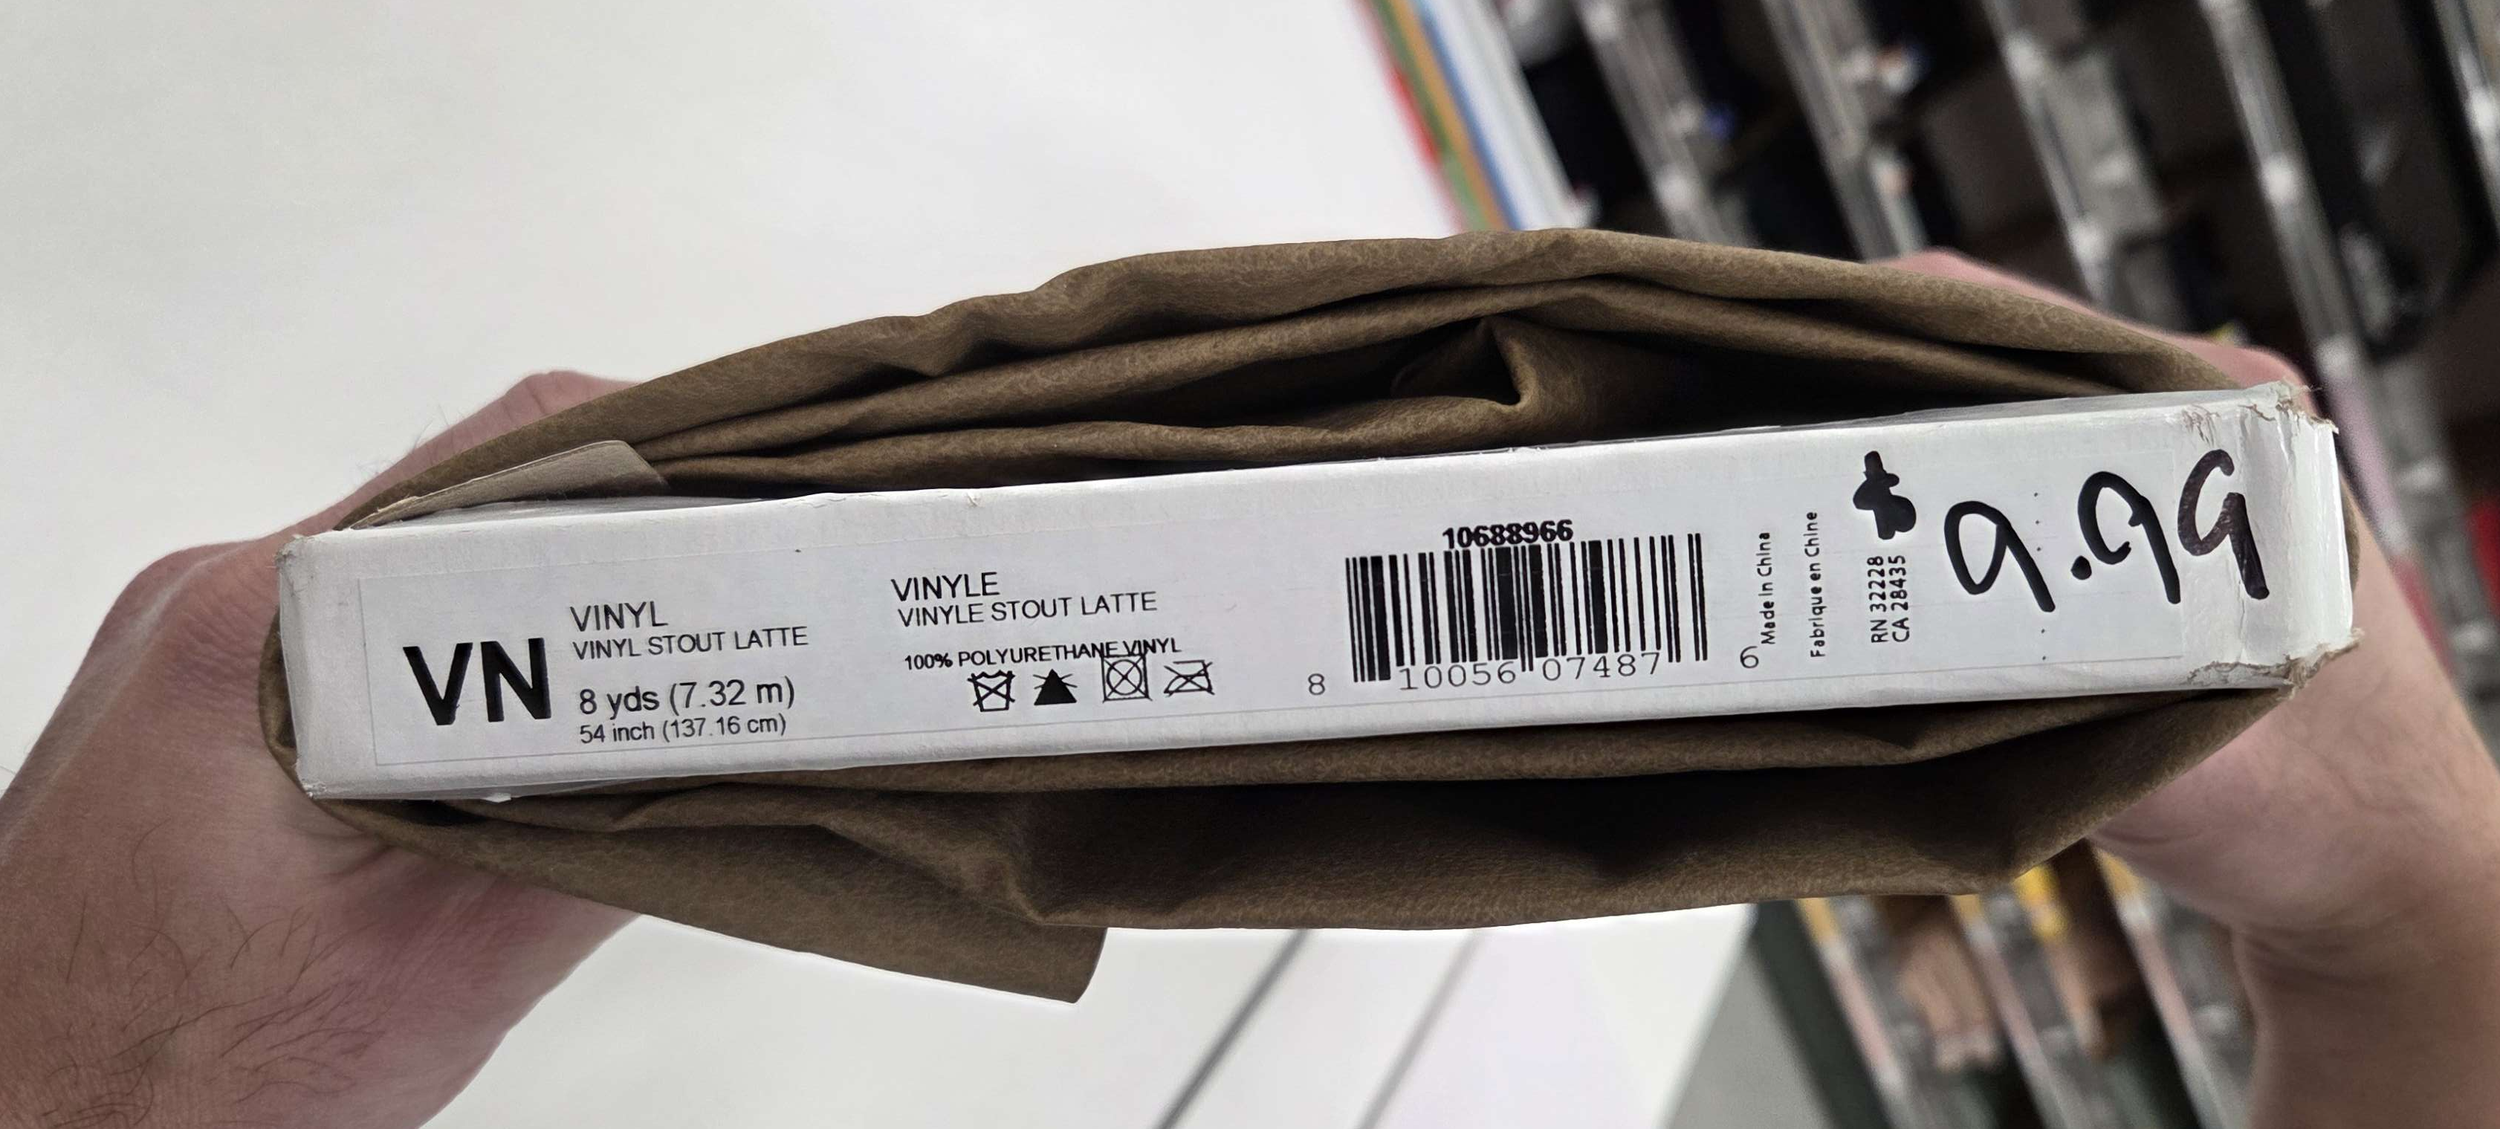
Making the Bag
What I did for the bag: placed pattern over fabric (wrong side up) and traced with seam allowance + where the pattern is. Cut the fabric on the seam allowance line and sewed on the pattern line.
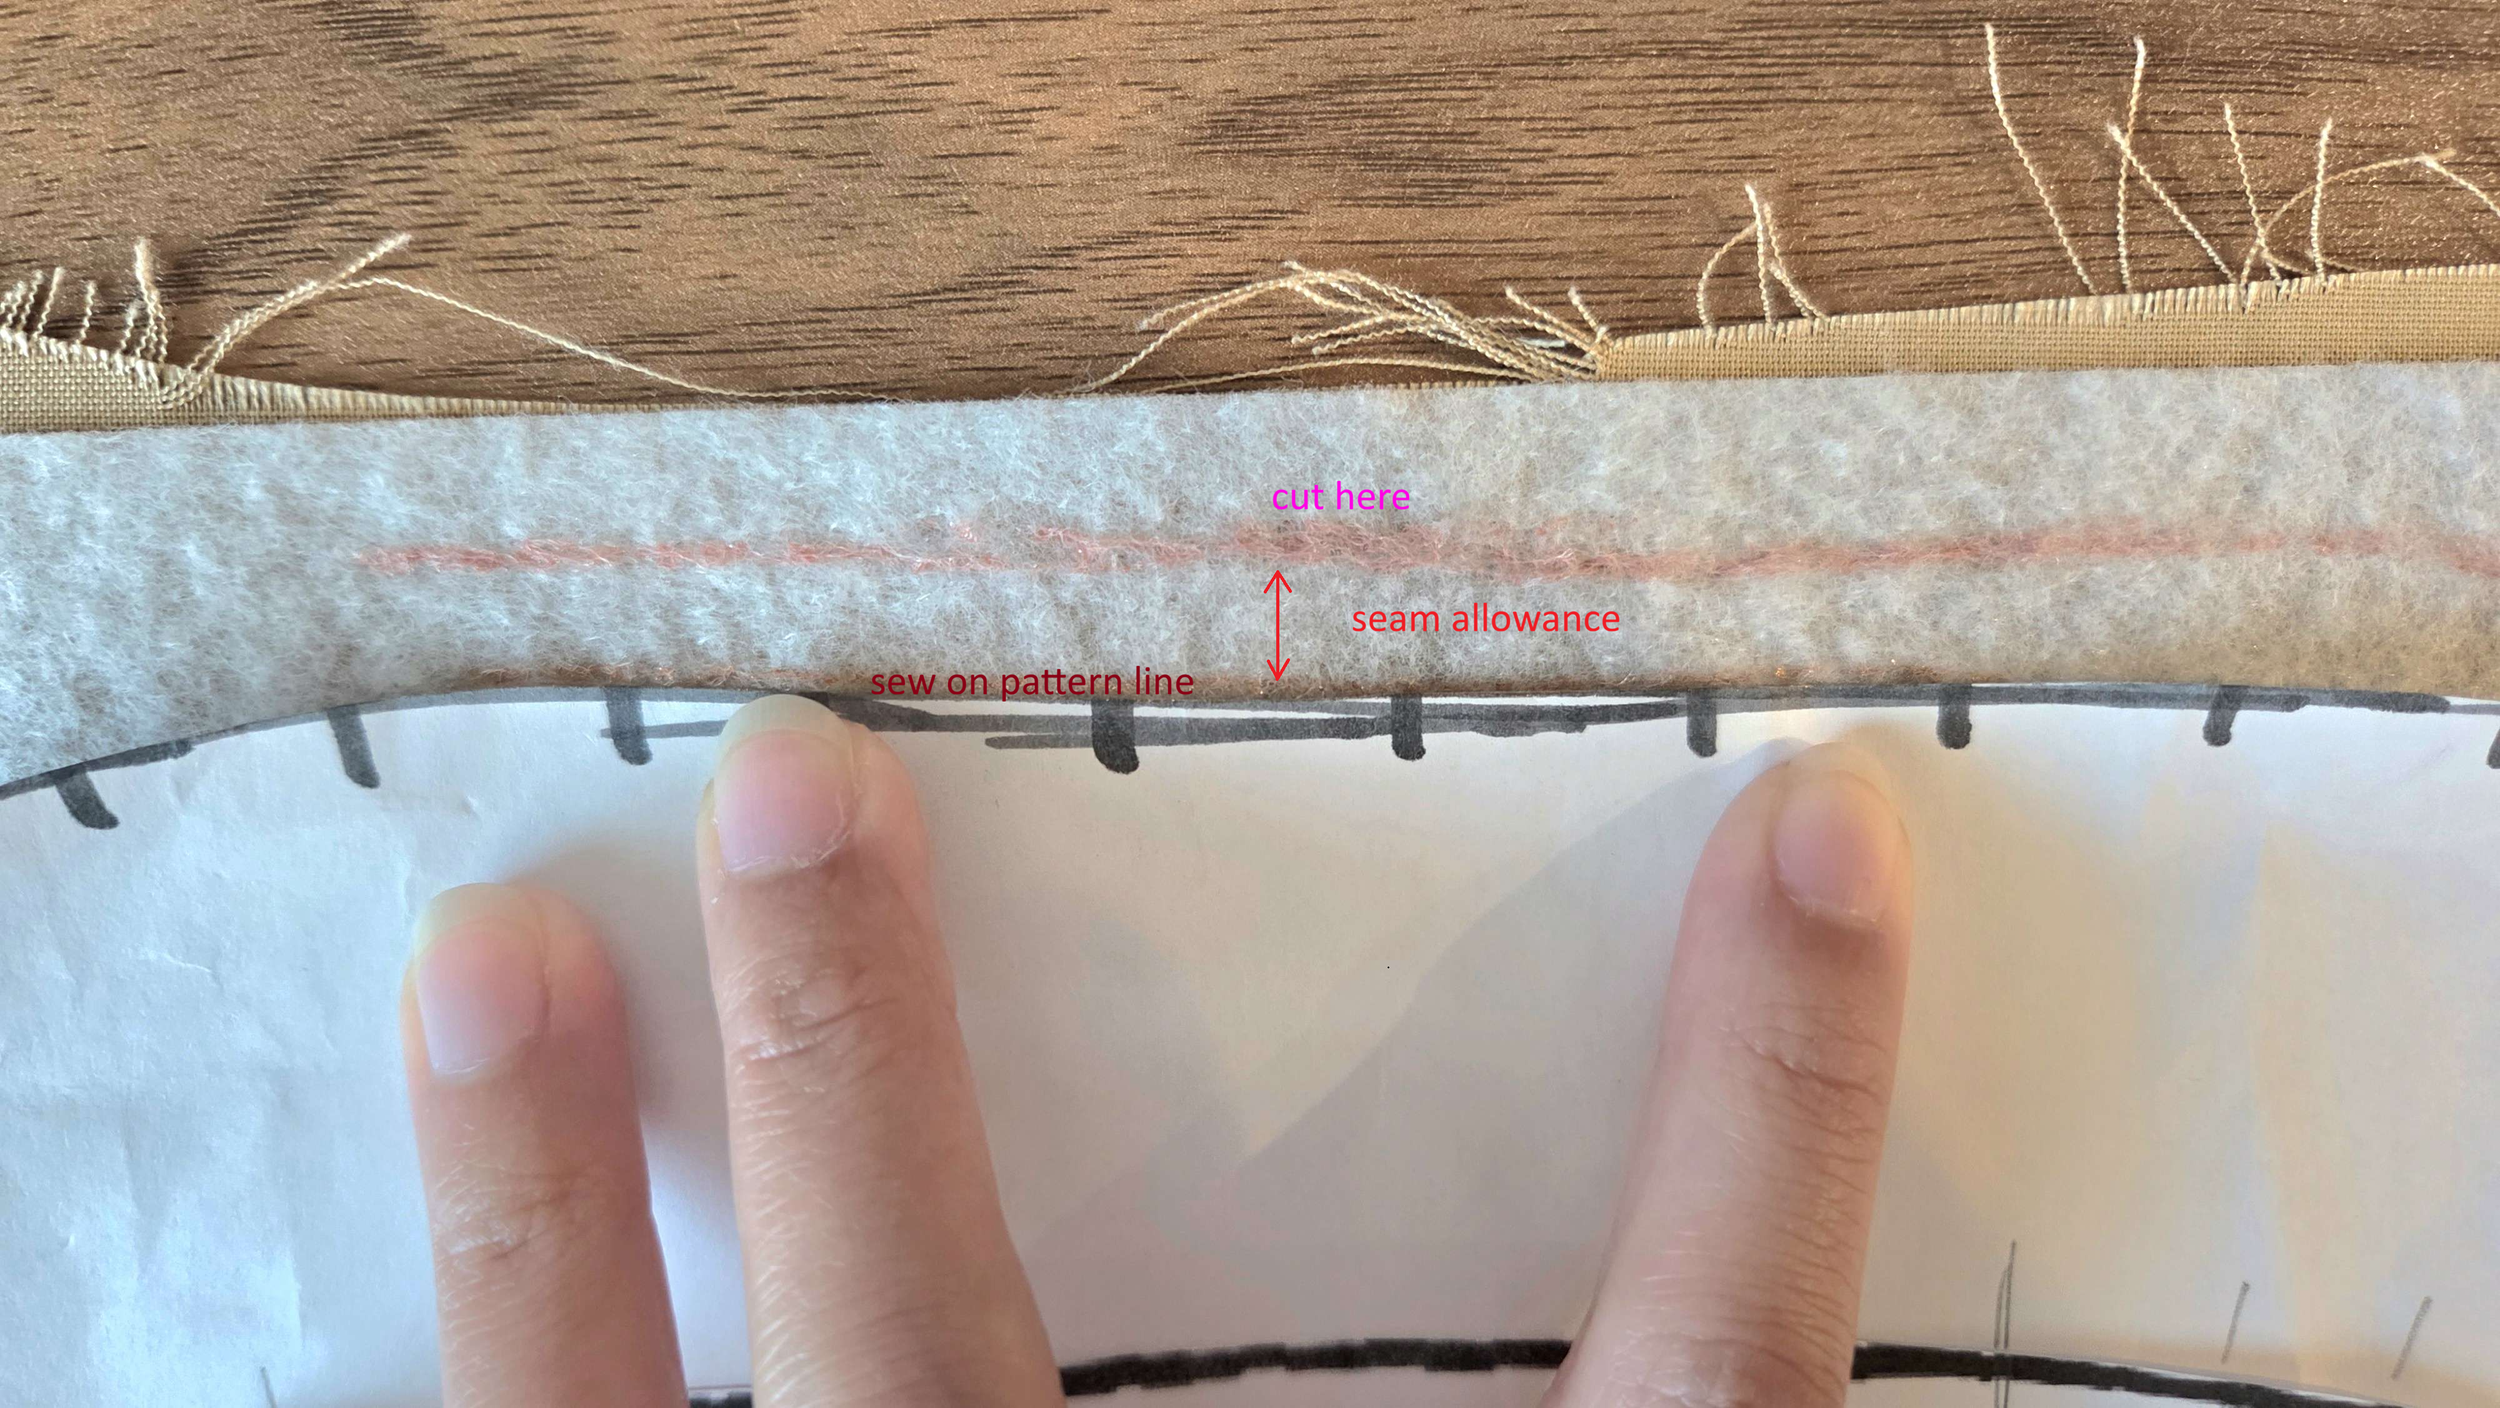
Sewed the fabric on the pattern line with the seam allowance, turned it inside out and sewed it again from the top so it’s flat down.
For the base of the bag, I cut the fabric following the template with seam allowance and stitched the front and back panels together. I left some “space” between the base and the panels like in the show.
Since the satchel in the show and in the park does not have a length adjustor, and I wanted it to be as accurate as possible, I just measured how long I wanted the bag to be, cut two similar length pieces with additional seam allowances, and attached it on the bag. It was intentional for me to make the seams “wonky” cause the strap wasn’t very symmetrical in the show.
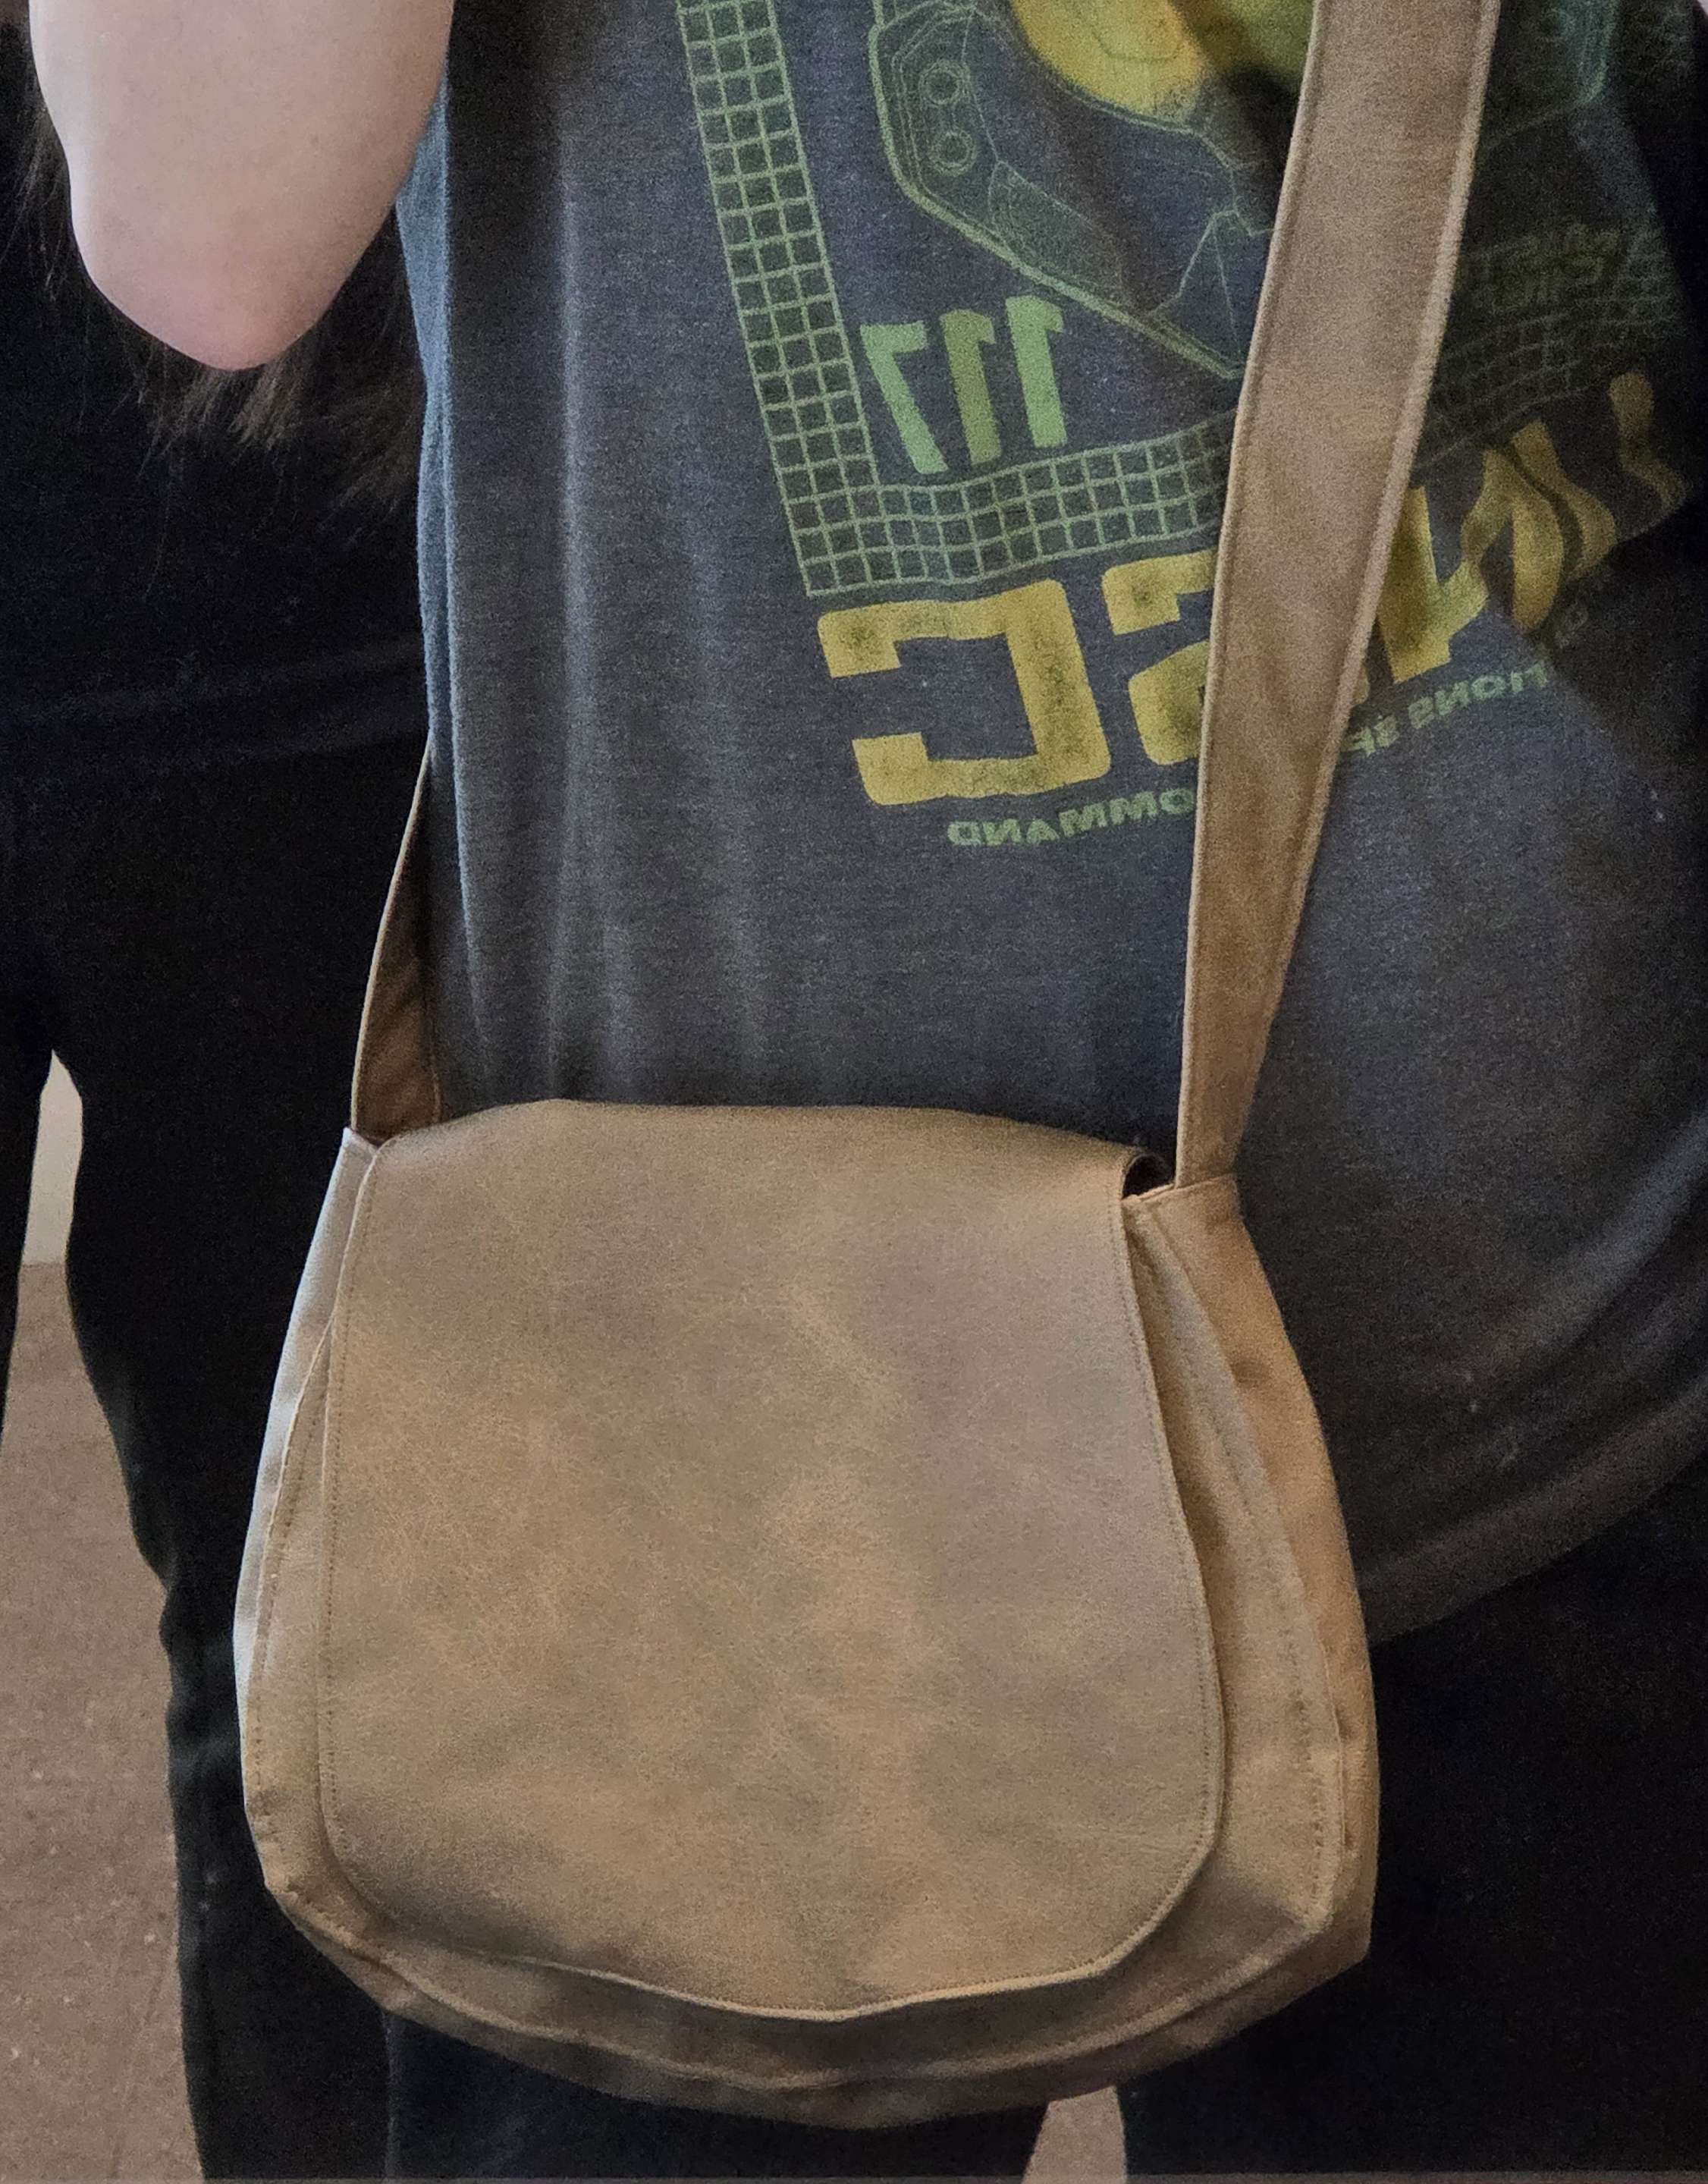
Make this bag however you like - add pockets, linings, etc.
I tied an embroidery thread around the strap so I could hang a bag charm.
Finishing Touches
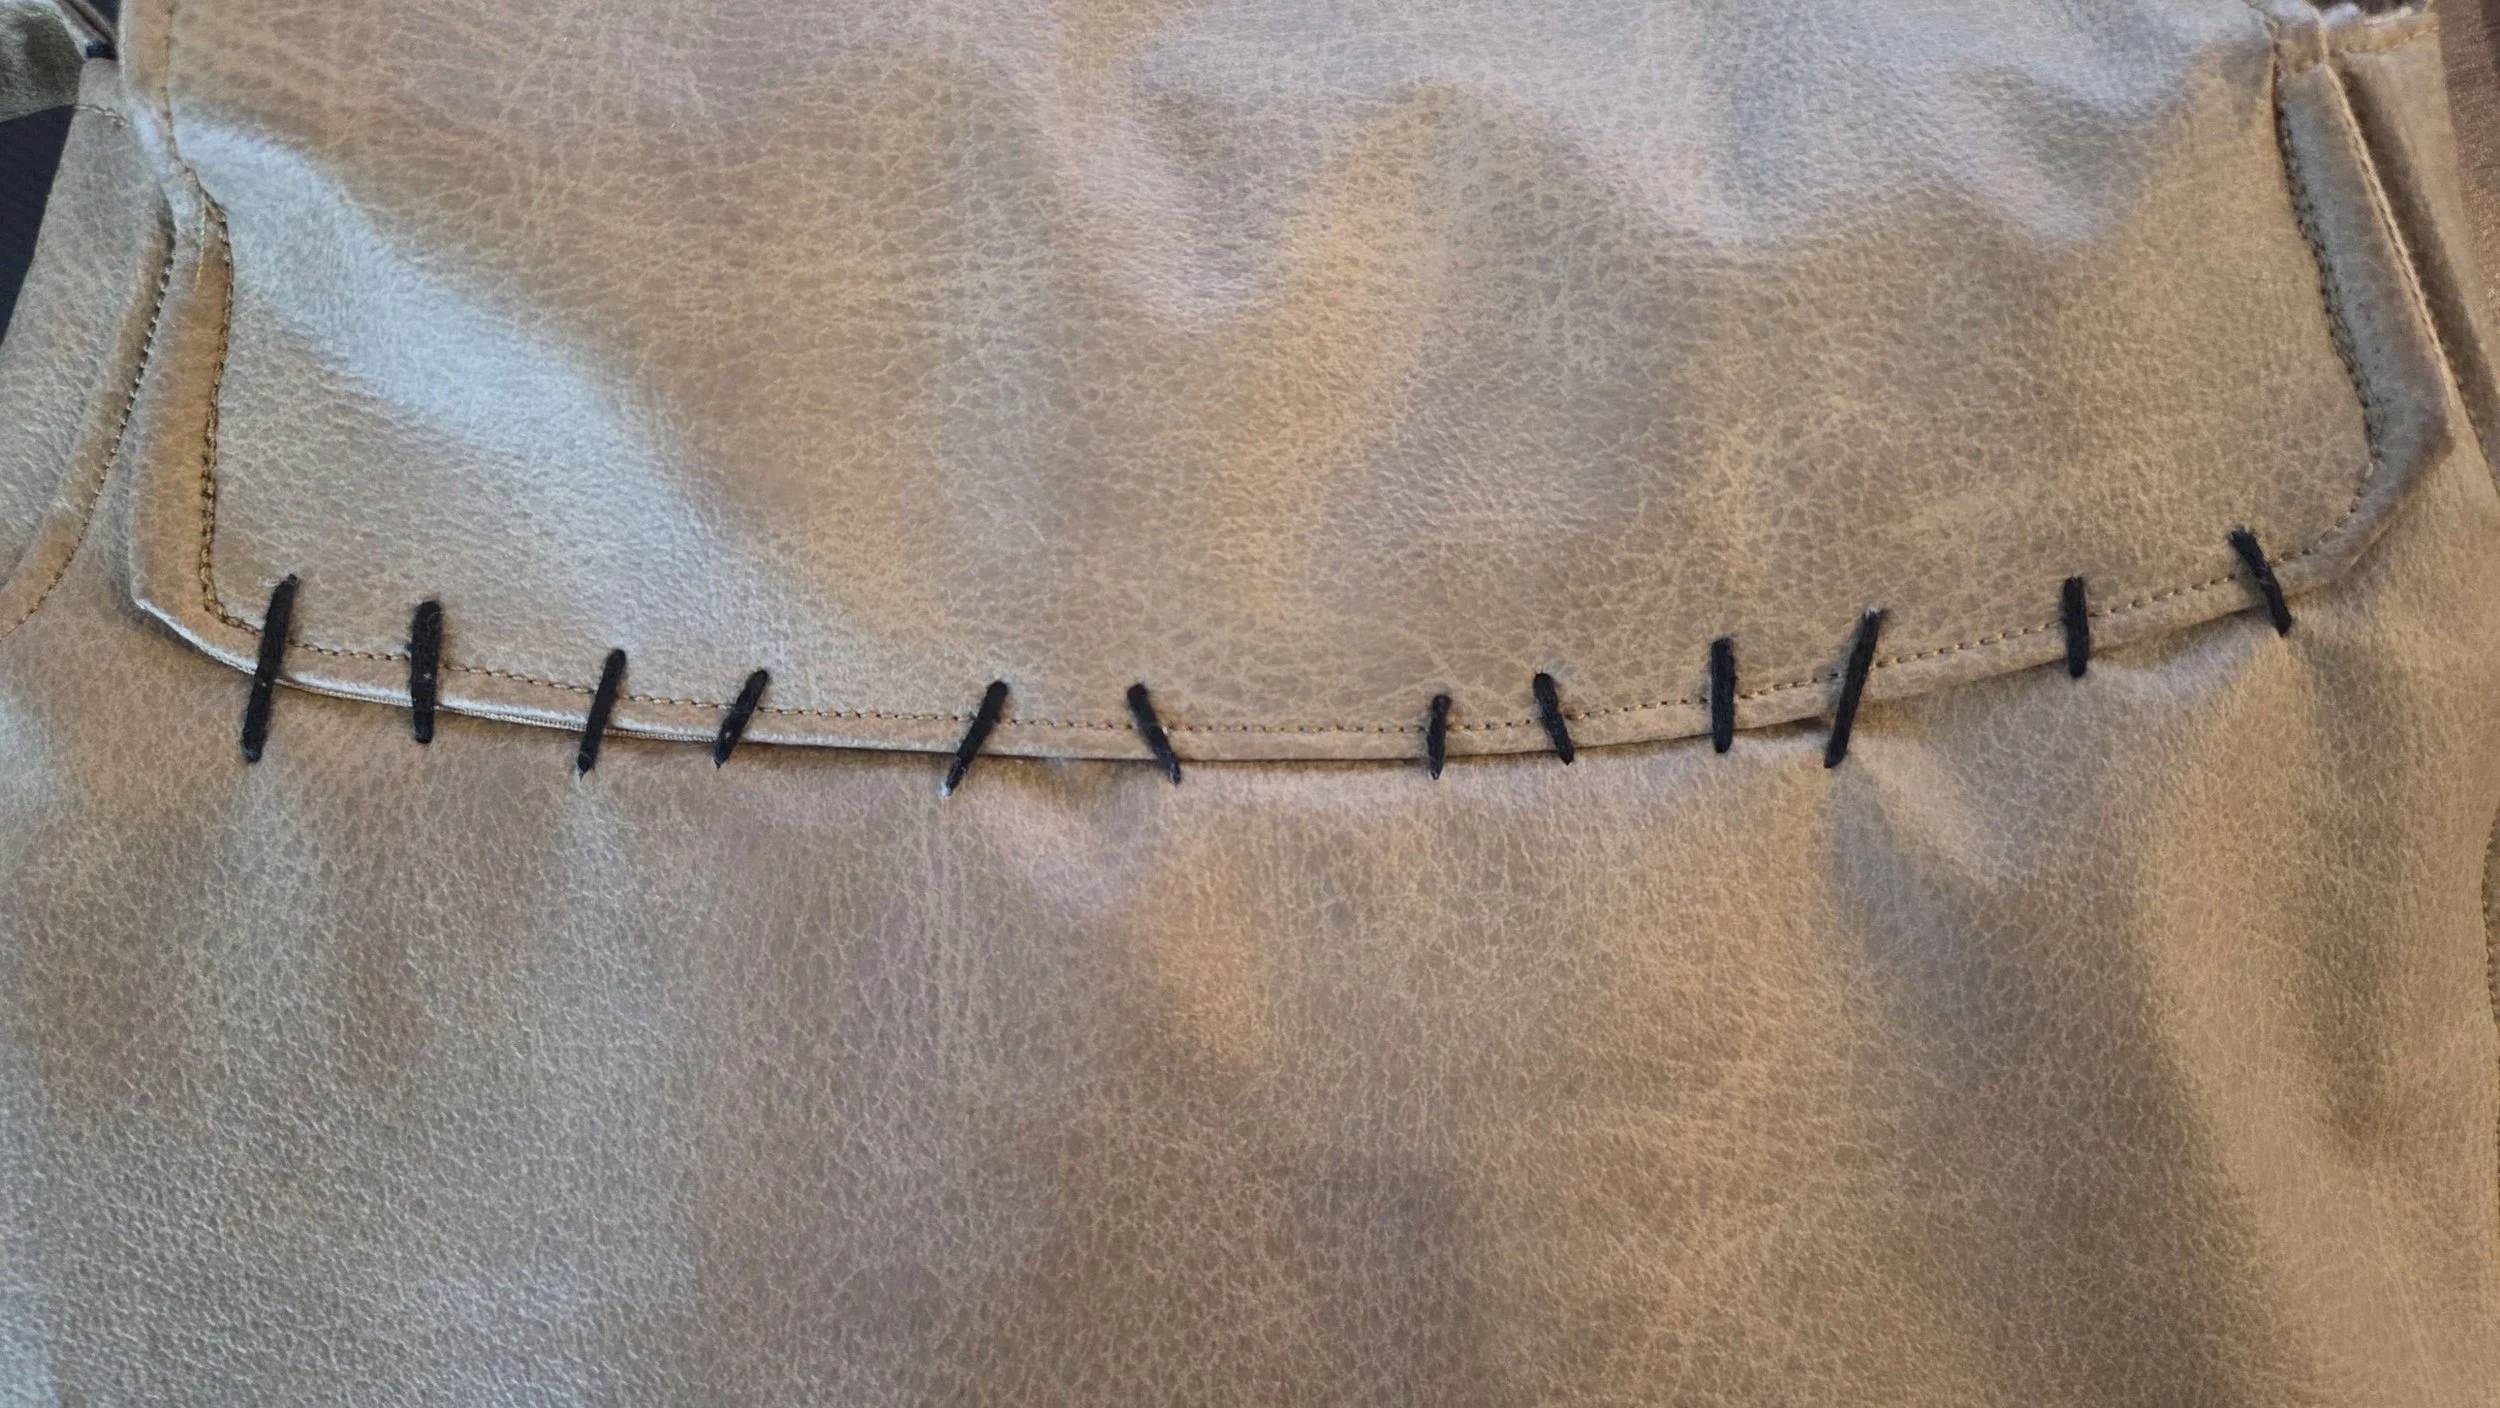
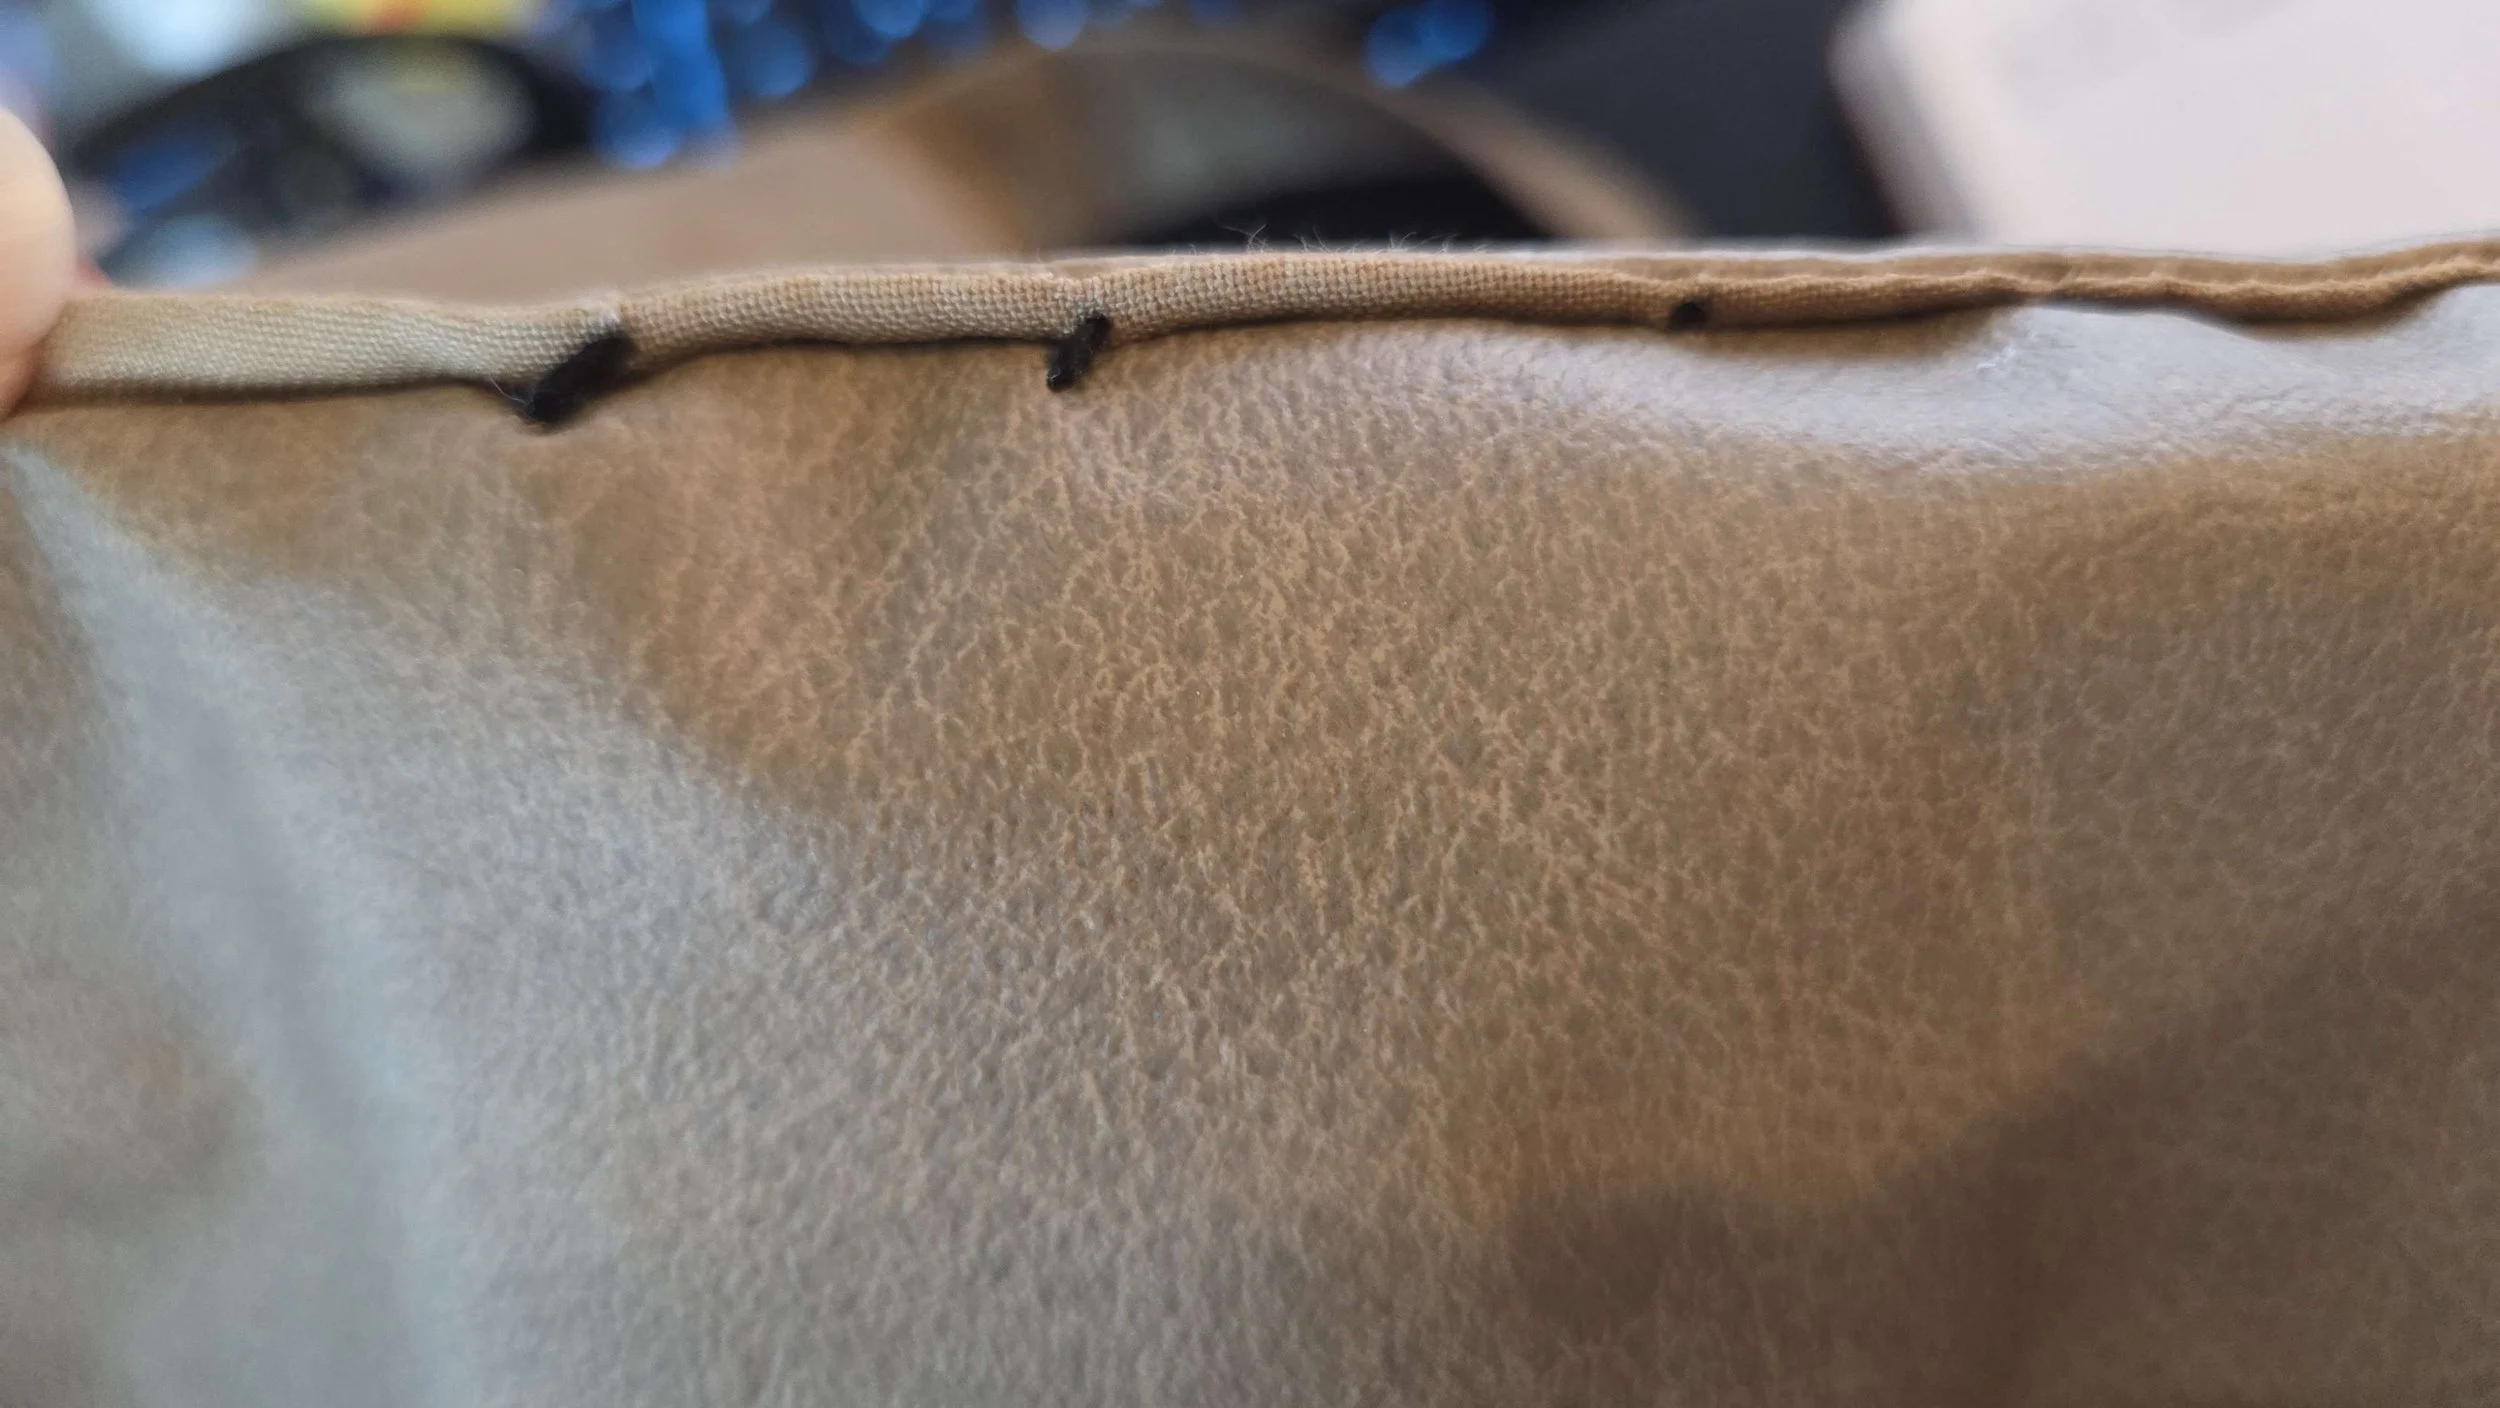
I used black embroidery thread to fake the sewing threads you see in the show - (I used a curved needle).
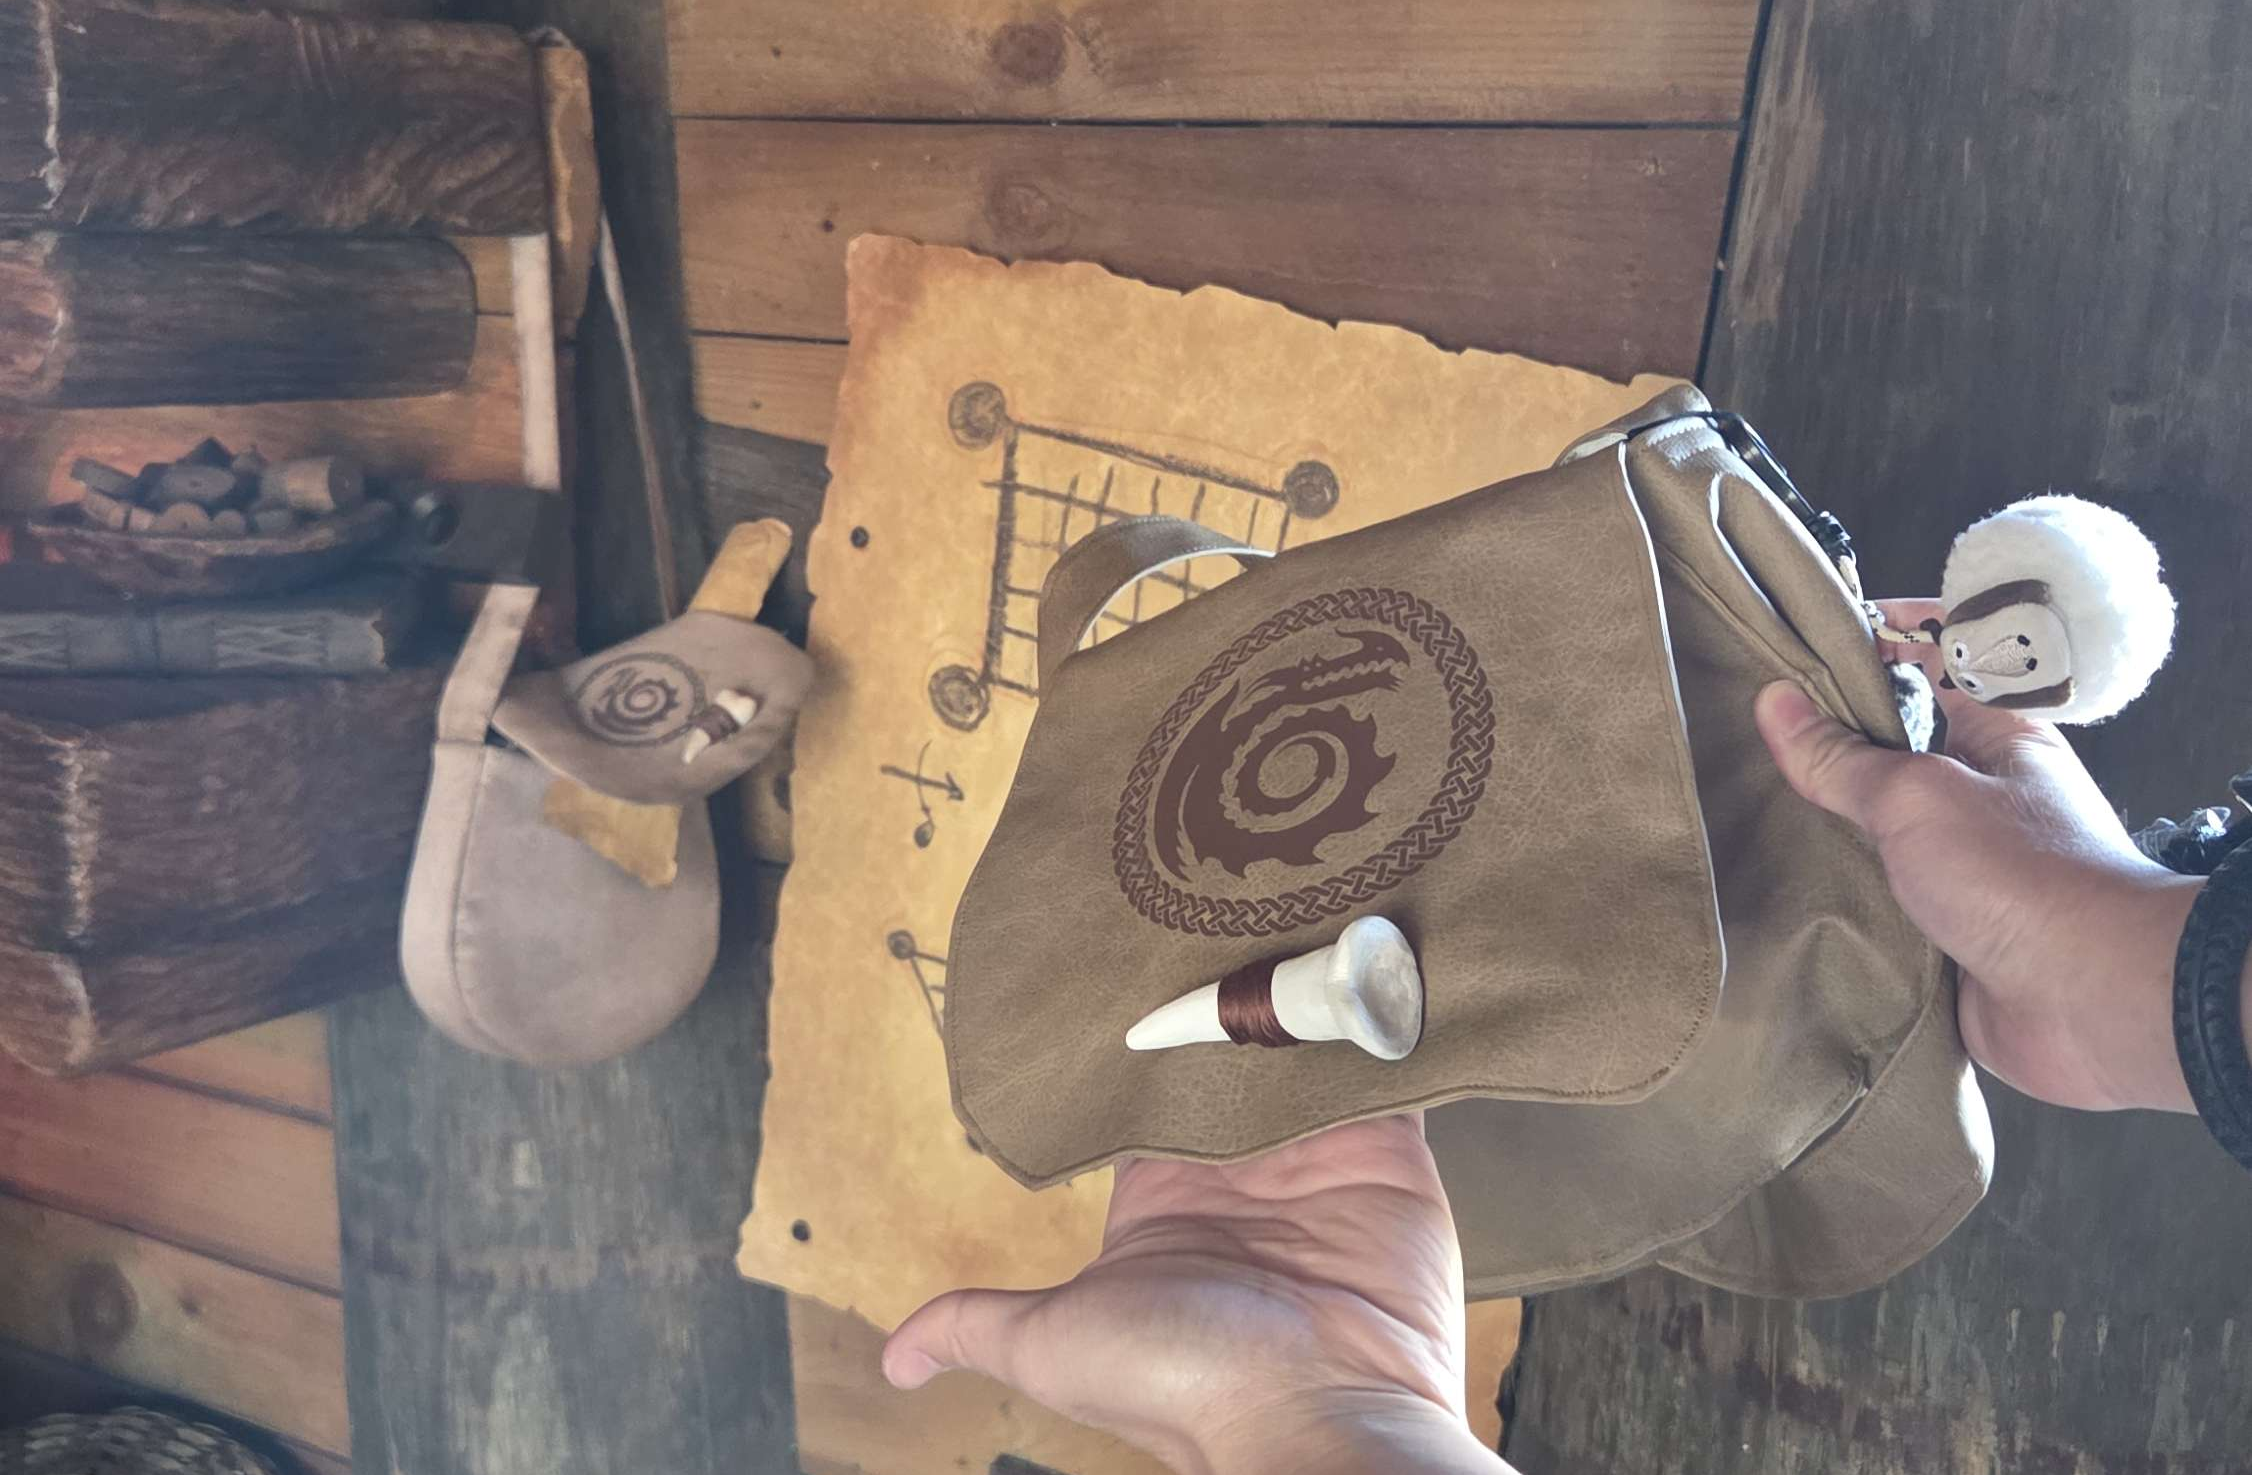
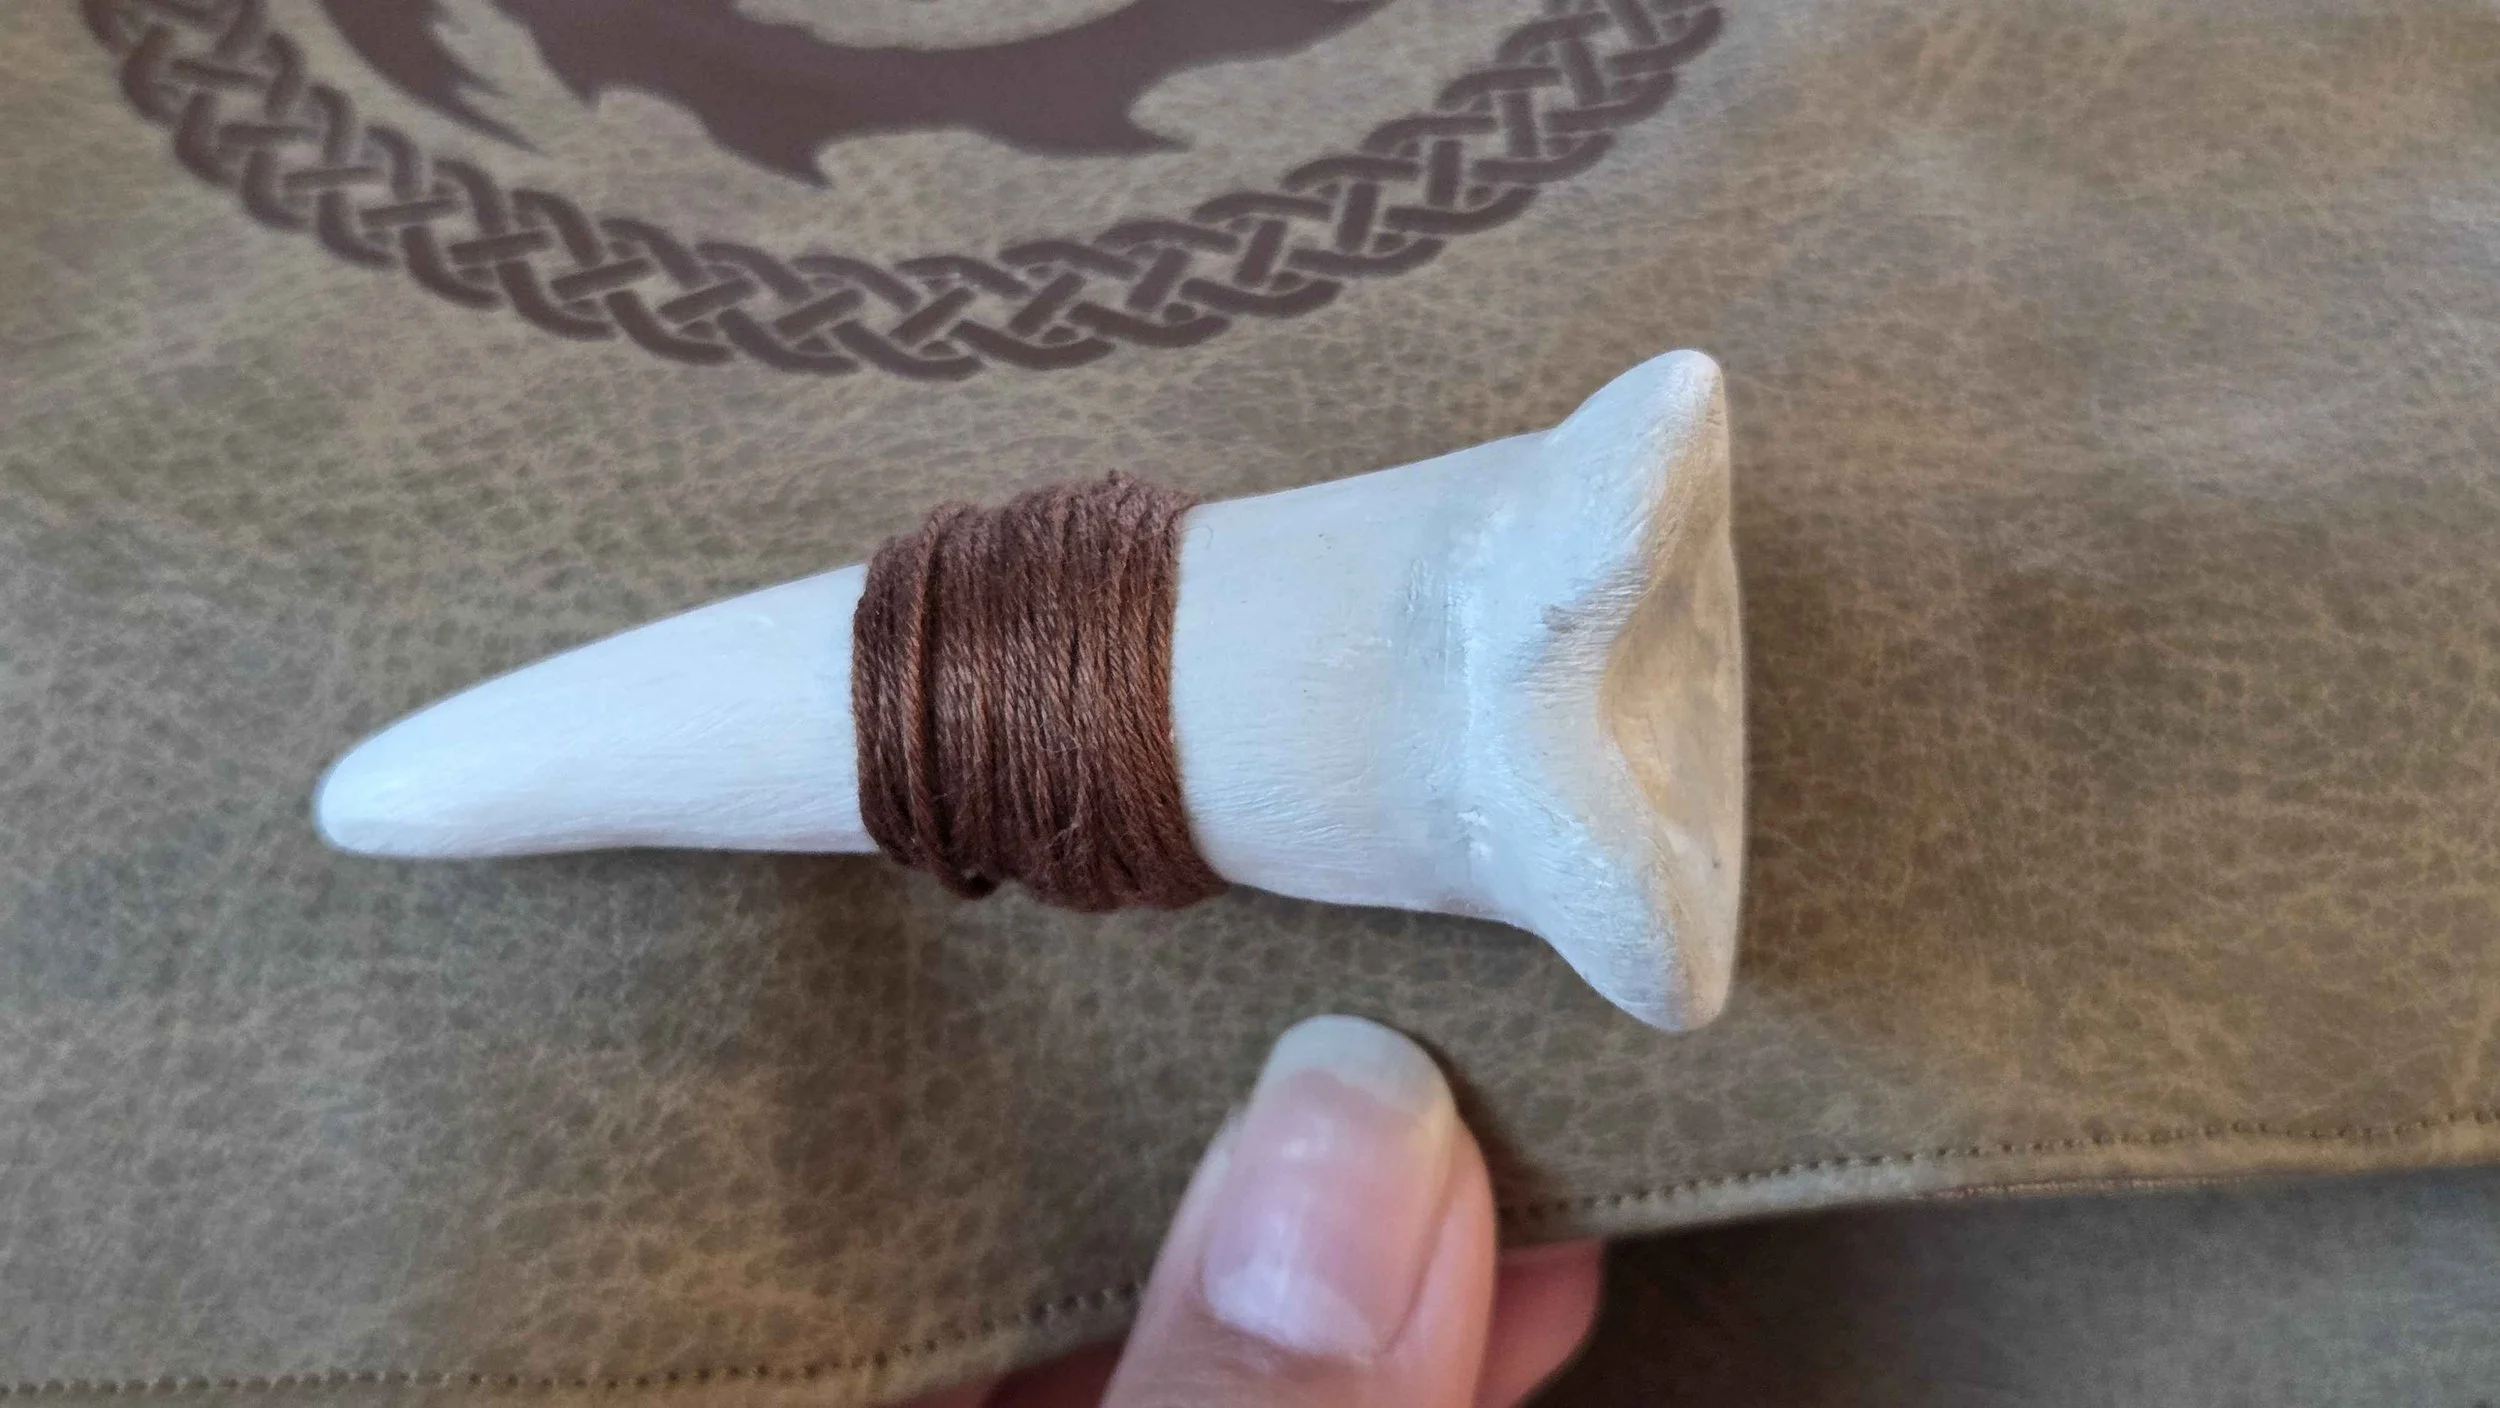
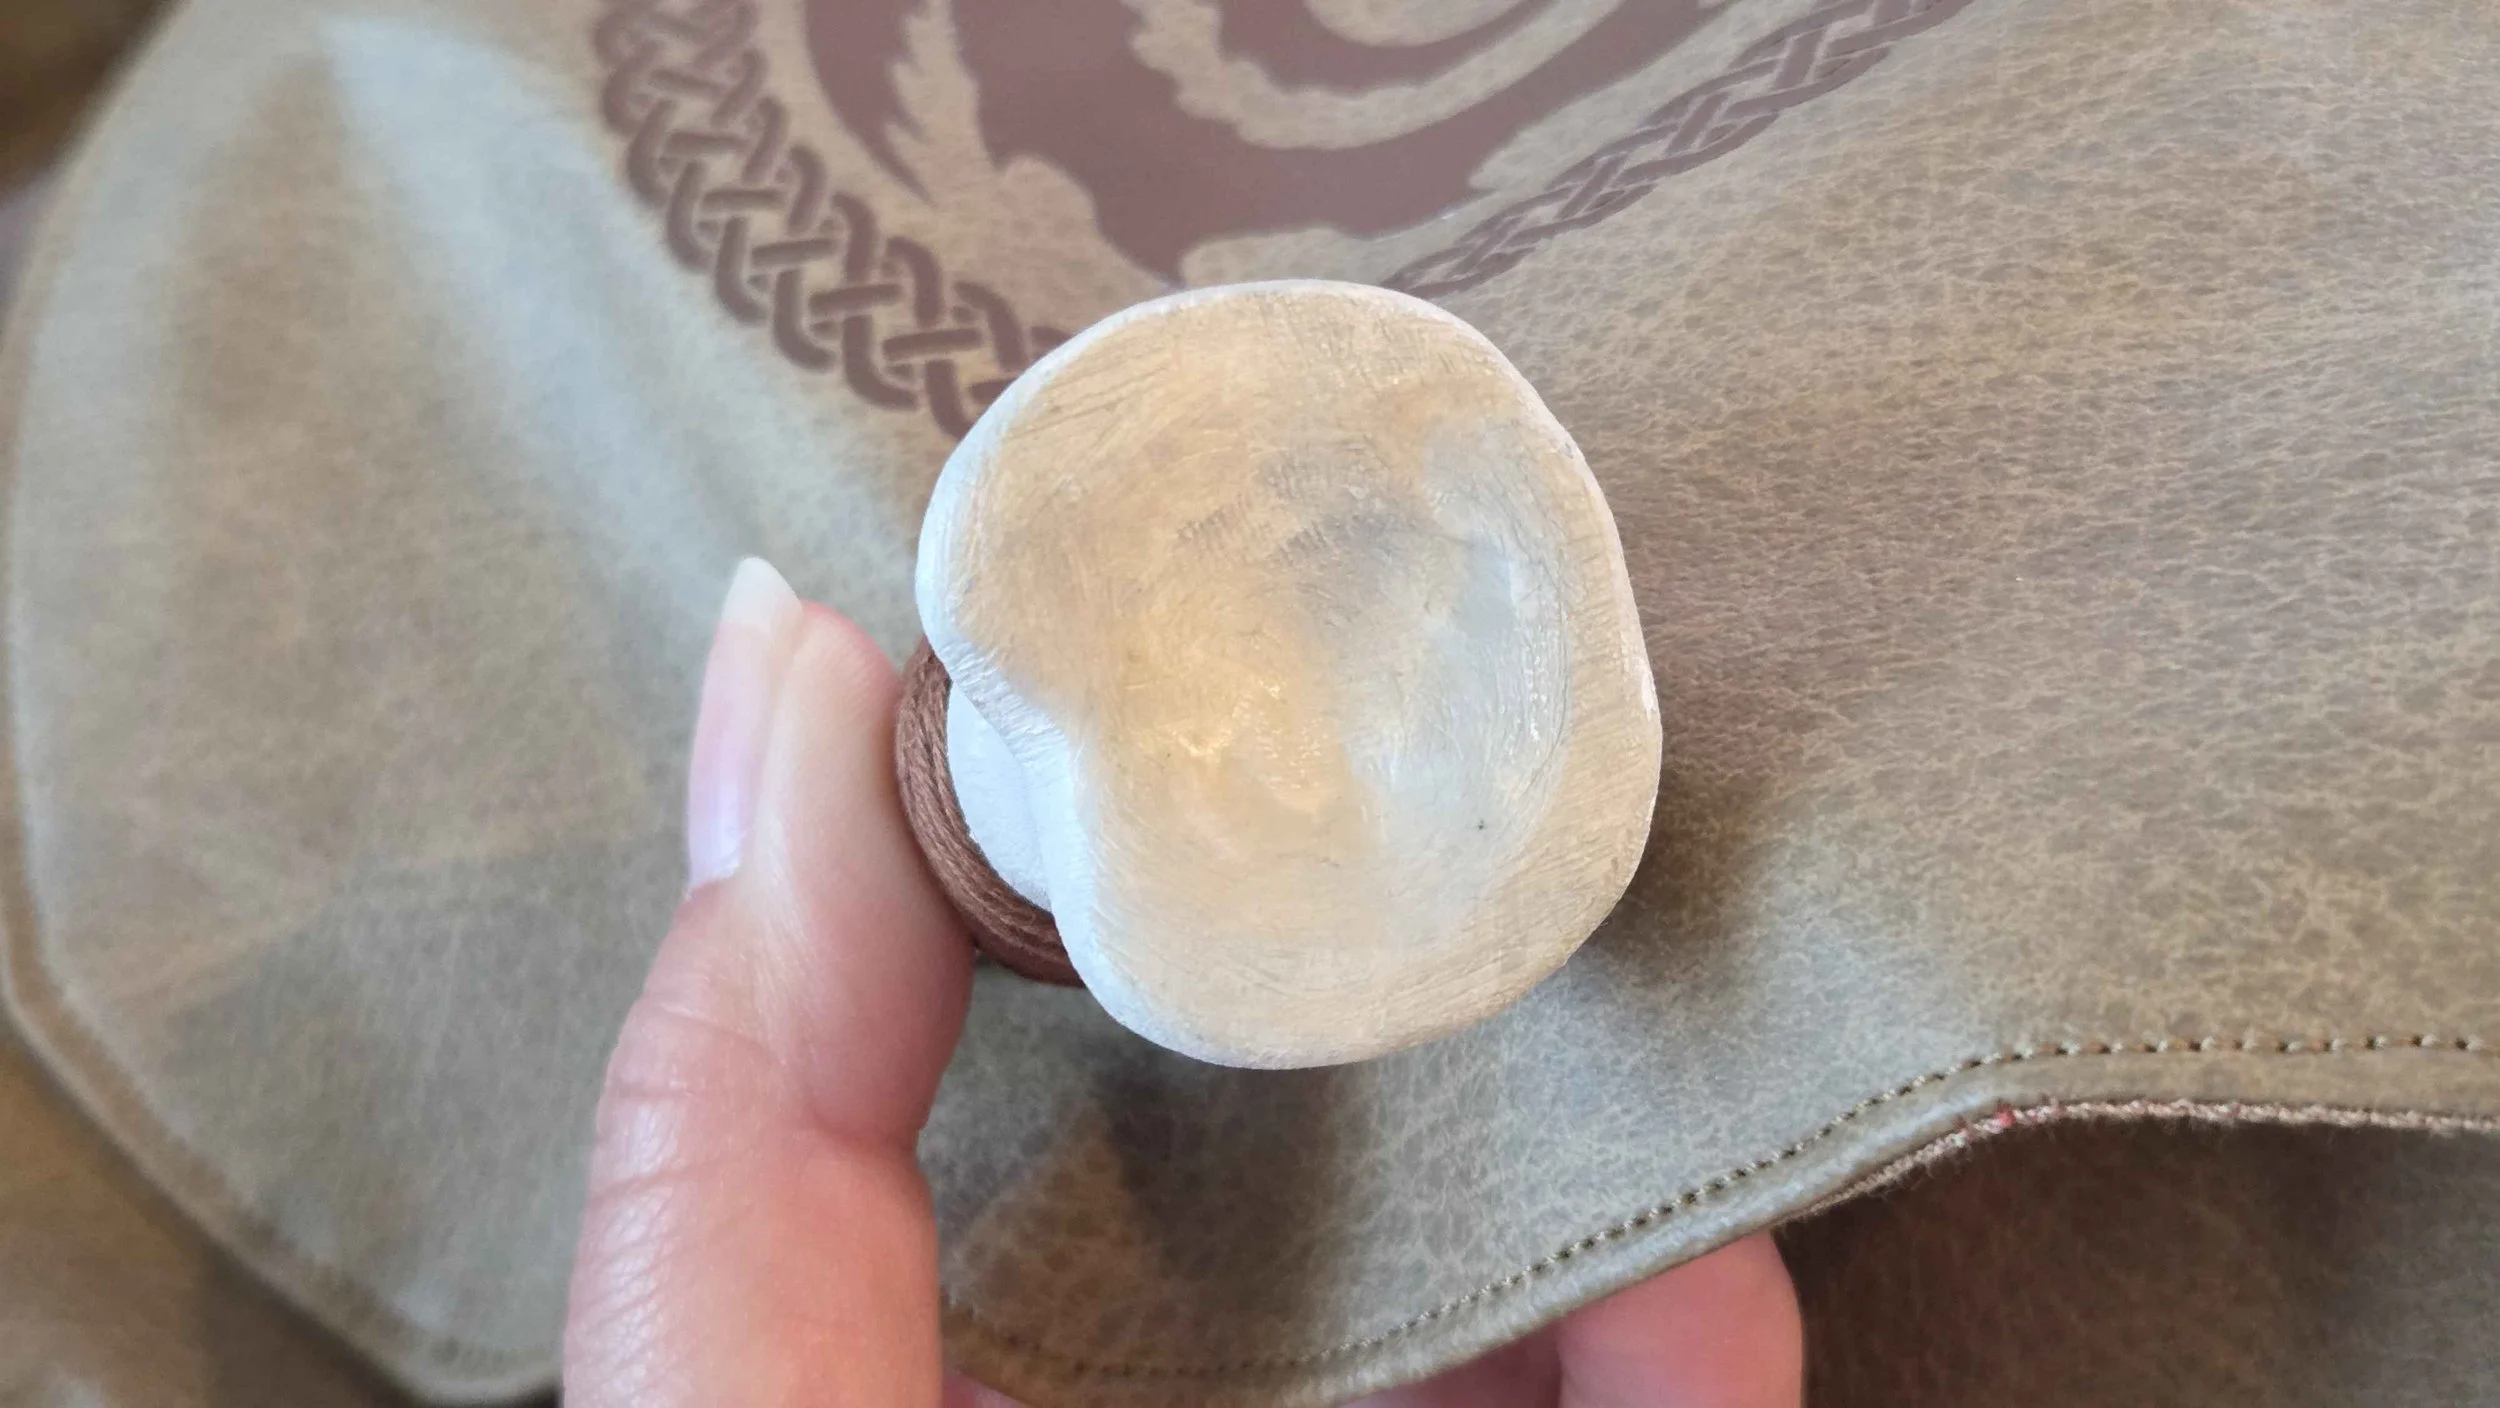
Sculpted the Gronkle tooth with polymer clay, sanded it down, gave it a light paint wash, and wrapped it with brown embroidery thread. Then glued it with resin glue so it won’t budge and also sewed it on for good measure.
Bought some Heat Transfer Vinyls, went to my local library and got it cut out using a Cricut machine, and then ironed onto my bag (Fingers crossed that it won’t melt the bag, I ironed it on the lowest heat setting).